Build apps faster with @occtoo/destination-client


Terrance Fletcher, the ruthless music instructor in the movie Whiplash, once said, "There are no two words in the English language more harmful than 'good job'." While Fletcher's approach may be a bit extreme, the sentiment behind his words is clear: we should always strive to be better, to push ourselves to new heights, and to never settle for mediocrity. This philosophy is especially relevant in the world of software development, where innovation and continuous improvement are essential for success.
At Occtoo, we're committed to helping developers build better apps faster. Our platform provides a powerful set of tools and services that streamline the development process, enabling teams to deliver high-quality applications quickly and efficiently. One of the key components of our platform is the Occtoo Destination service, which allows developers to connect to various data sources and retrieve data from destination endpoints.
To make it even easier for developers to interact with destination endpoints, we've created the @occtoo/destination-client npm package. This package simplifies the process of fetching data from destination endpoints, providing an intuitive API and automatic TypeScript typings generation. In this blog post, we'll explore the features of the @occtoo/destination-client package and show you how to use it to build apps faster and more efficiently.
What is @occtoo/destination-client?
The @occtoo/destination-client npm package is designed to simplify interactions with your data. Occtoo's platform enables seamless data integration across various systems, and this package acts as a client to efficiently retrieve data from these destinations. It ensures that developers can easily access and work with their data, enhancing productivity and streamlining development workflows.
Core concept - Studio-first, schema-first
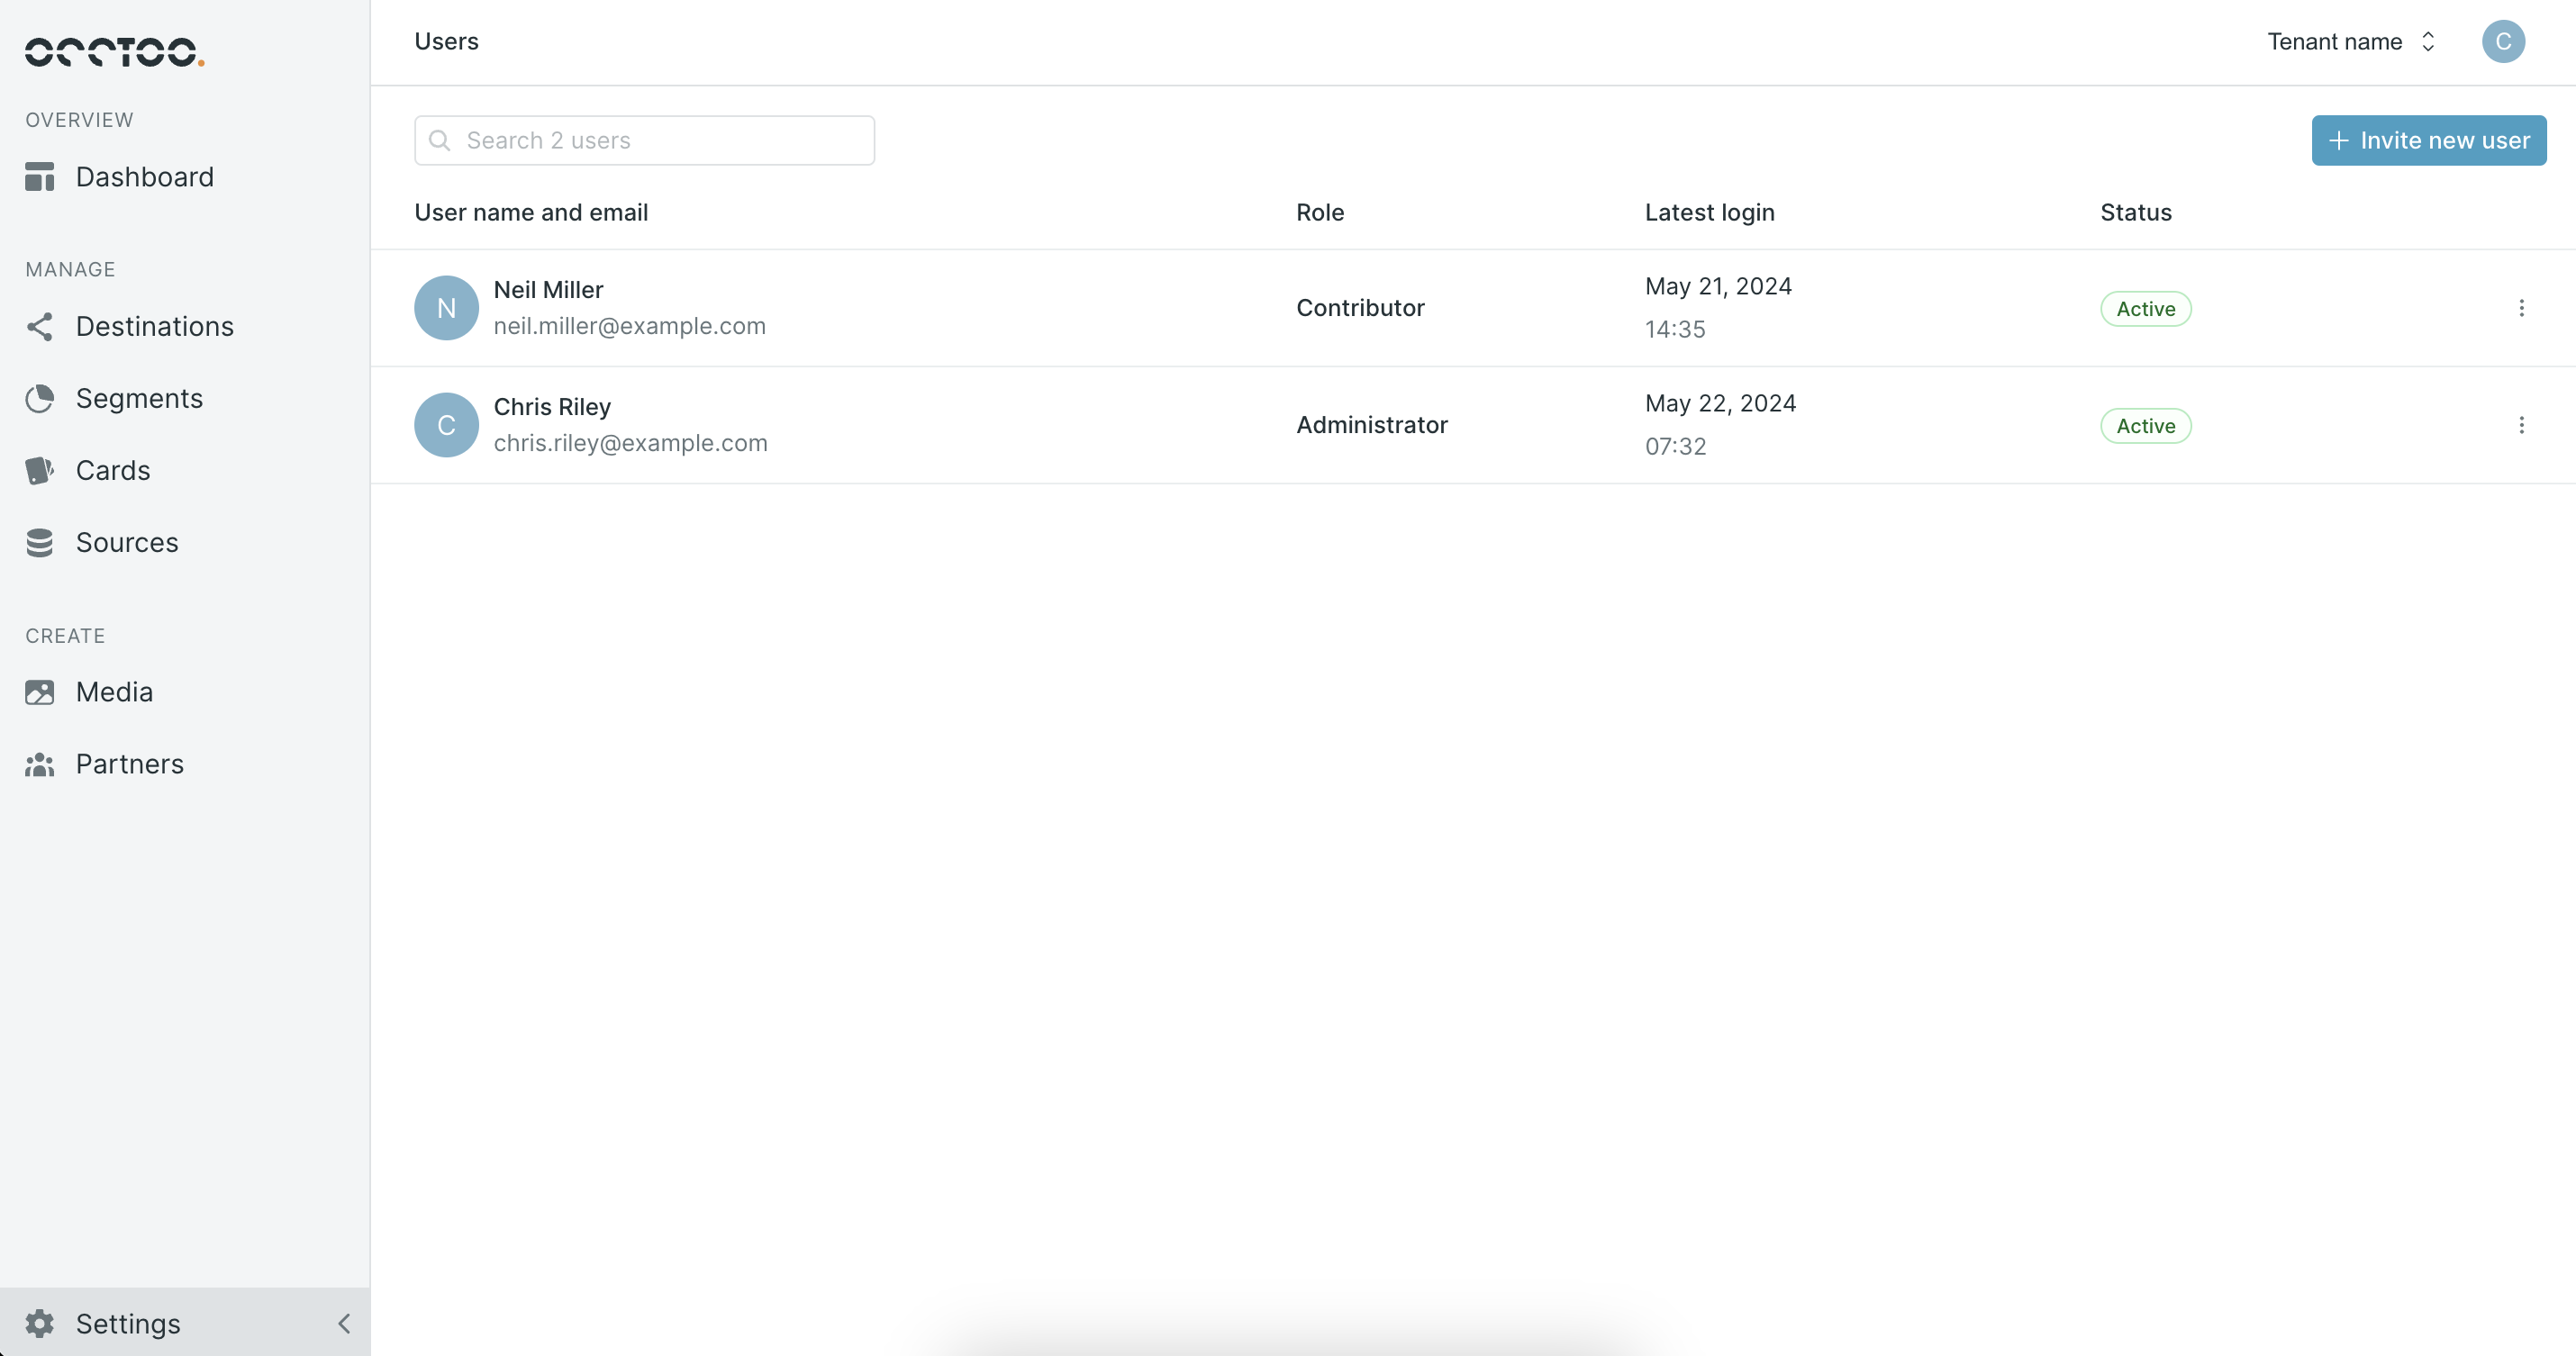
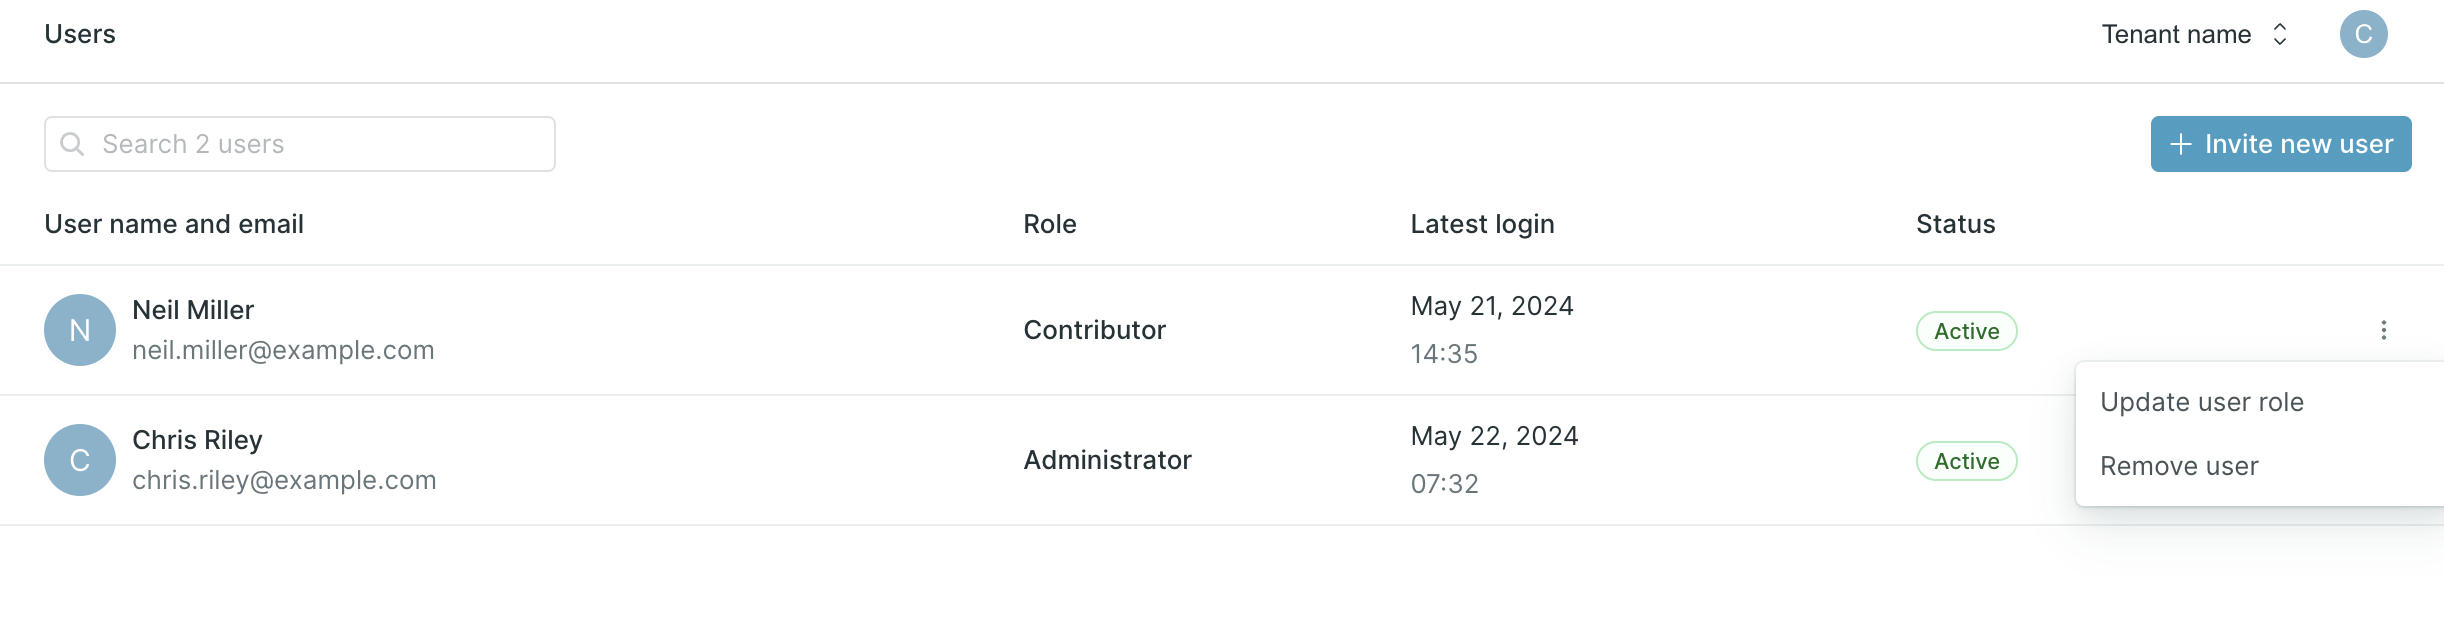
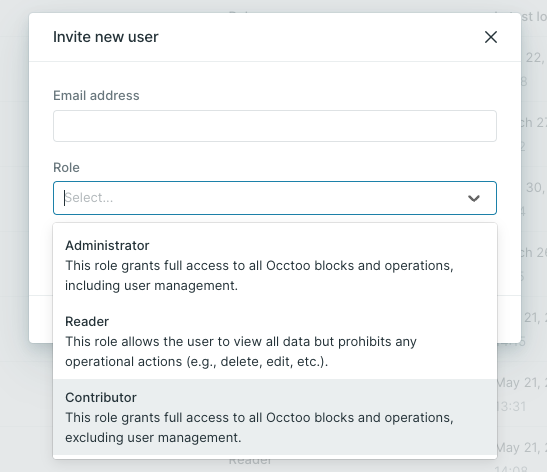
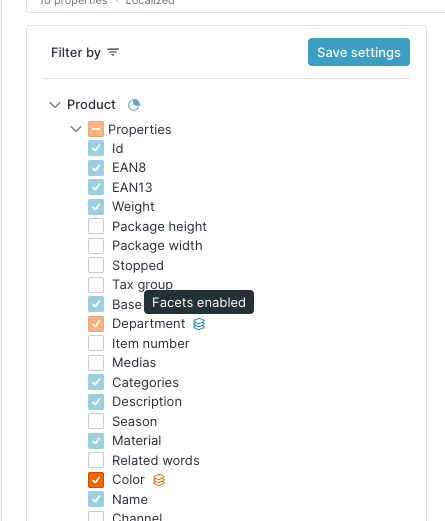
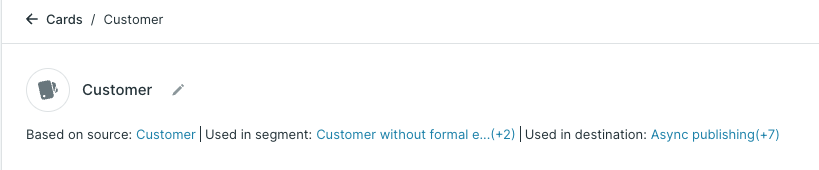
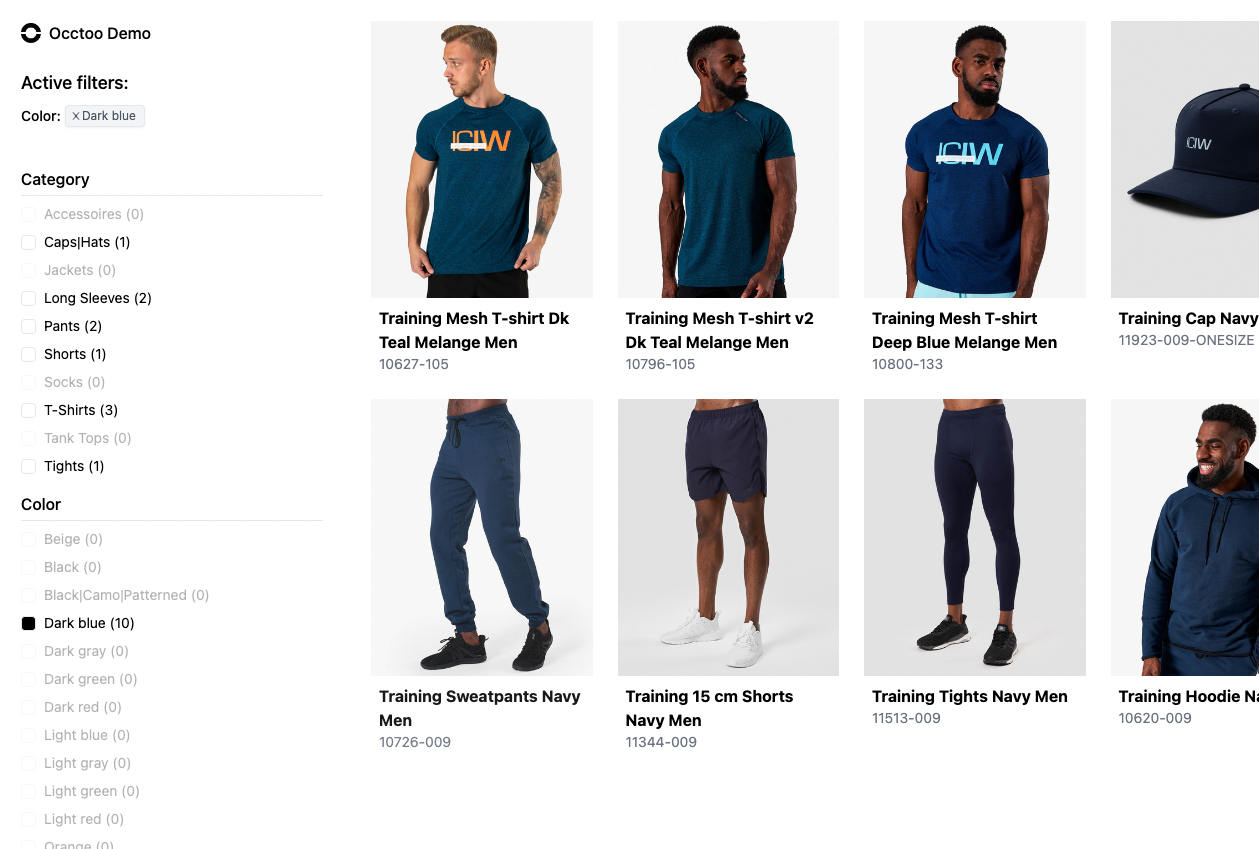
Occtoo Studio provides a powerful UI that allows you to create destination endpoints effortlessly, without writing any code. This user-friendly interface lets you define data structures, including fields, types, and relationships with data from various systems.
After defining your destination endpoint in Occtoo Studio, you can use the @occtoo/destination-client package to generate a client. This package automatically creates TypeScript typings based on the schema defined in Occtoo Studio, ensuring type safety and enhancing code quality.
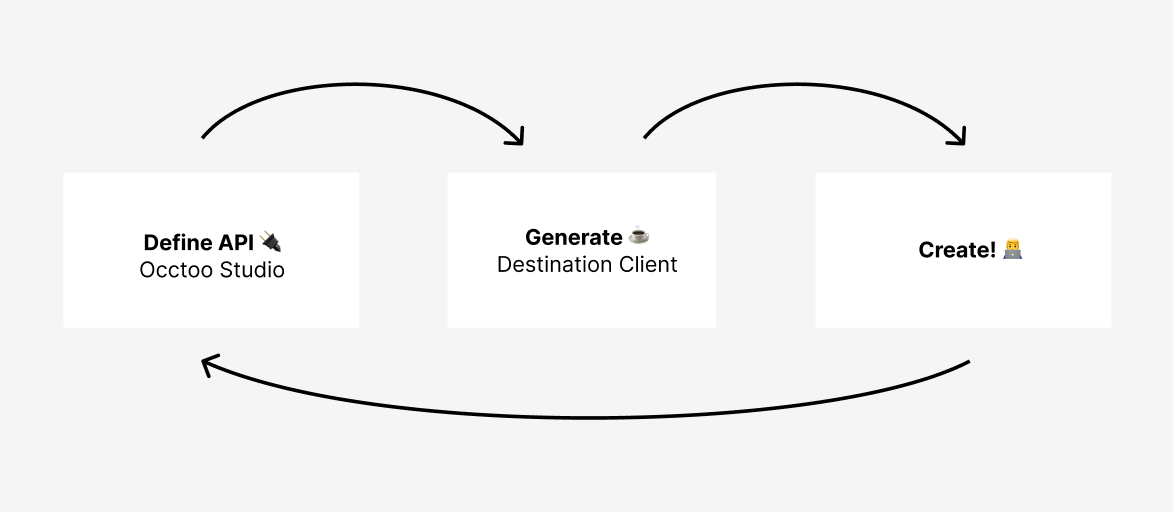
The advantage of this approach is that all type updates and changes can be made through the Occtoo Studio UI. Whenever you modify the schema, you can simply regenerate the client using the @occtoo/destination-client package. This ensures that your client stays up-to-date with the latest schema changes, eliminating the need for manual typings generation or tedious code updates.
Working schema-first with Occtoo Studio and @occtoo/destination-client offers a streamlined and efficient method for integrating with various systems. It removes the need for manual typing and provides a visual interface for managing data structures and mappings. This approach lets you focus on building your application logic, not having to deal with the code complexities of data integration.
Key Features
- Quick Setup: Set up the client in minutes with minimal configuration 🕶️
- TypeScript Support: Automatically generates necessary TypeScript typings, enhancing code quality and development speed 🕶️
- Easy Regeneration: Easily regenerate the client to adapt to changes in the destination endpoint configurations 🕶️
- Intuitive API: Provides a straightforward API for fetching data 🕶️
- Small package size: The generated client is small in size, providing a minimal footprint in your application source code 🕶️
Installation
Prerequisites
Before you start using the @occtoo/destination-client, you need to have an Occtoo account and a destination endpoint set up in Occtoo Studio. If you don't have an account, you can sign up for a free trial free trial to get started.
In this guide, we'll assume that you already have a React and TypeScript app up and running. The code examples provided below use an empty template created with Next.js, specifically utilizing the latest React Server Components feature. However, please note that the @occtoo/destination-client can be utilized in almost any JavaScript or TypeScript project.
To begin using @occtoo/destination-client, install it via npm:
npm install @occtoo/destination-client
Client setup
Setting up the @occtoo/destination-client in your project is incredibly fast and easy. Here’s how you can get started:
-
🔌 Add your destination config
First, put your Occtoo Destination values in your
.envfile. If it doesn't exist, create one in the root of your project. Add the following values:OCCTOO_DESTINATION_ID=...
OCCTOO_DESTINATION_URL=...The destination config can be found in the Occtoo Studio UI. For demo purposes if you don't have a destination, you can use the following values:
OCCTOO_DESTINATION_ID=8903b5d2-9b7f-4297-a04e-a3d339187389
OCCTOO_DESTINATION_URL=https://global.occtoo.com/occtoodemo/occtooFrontEndDocumentation/v3 -
��☕ Generate the client
Run the following command to generate the client:
npx @occtoo/destination-client generateThis command will generate the client based on the schema defined in Occtoo Studio.
-
🚀 Start fetching
Create an instance of the
DestinationClientclass and use it to interact with the destination endpoint:import { DestinationClient } from '@occtoo/destination-client';
const getProducts = async () => {
// initialize the client
const destinationClient = new DestinationClient();
// fetch data from destination endpoint "products"
const destinationEndpointResponse = await destinationClient.post("/products", {
filter: [
{
must: {
category: ["Pants"],
},
},
],
sortAsc: ["id"],
skip: 0,
top: 14,
});
return destinationEndpointResponse;
};🎉 Done!

-
🗝️ Optional: Authenticate the Client
If you're using a protected destination, you'll need to provide the client ID and client secret during client initialization. These credentials can be generated directly by registering an application through the destination view in the Occtoo Studio UI.
First, add the client ID and client secret to your
.envfile:OCCTOO_DESTINATION_APP_ID=...
OCCTOO_DESTINATION_APP_SECRET=...Then, authenticate the client:
// initialize the client
const destinationClient = new DestinationClient({
credentials: {
clientId: process.env.OCCTOO_DESTINATION_APP_ID,
clientSecret: process.env.OCCTOO_DESTINATION_APP_SECRET,
},
});
// authenticate the client
const accessToken = await destinationClient.authenticate();
// ... fetch data using the clientThe
authenticatemethod will authenticate the current client instance, and also return an access token that you can store and use to make requests to the destination endpoint.
Fetching Data
Once the client is initialized, you can utilize the auto-generated TypeScript typings to fetch data from the destination endpoint. The client provides methods for making HTTP requests to the destination endpoint, including filtering, sorting and pagination.
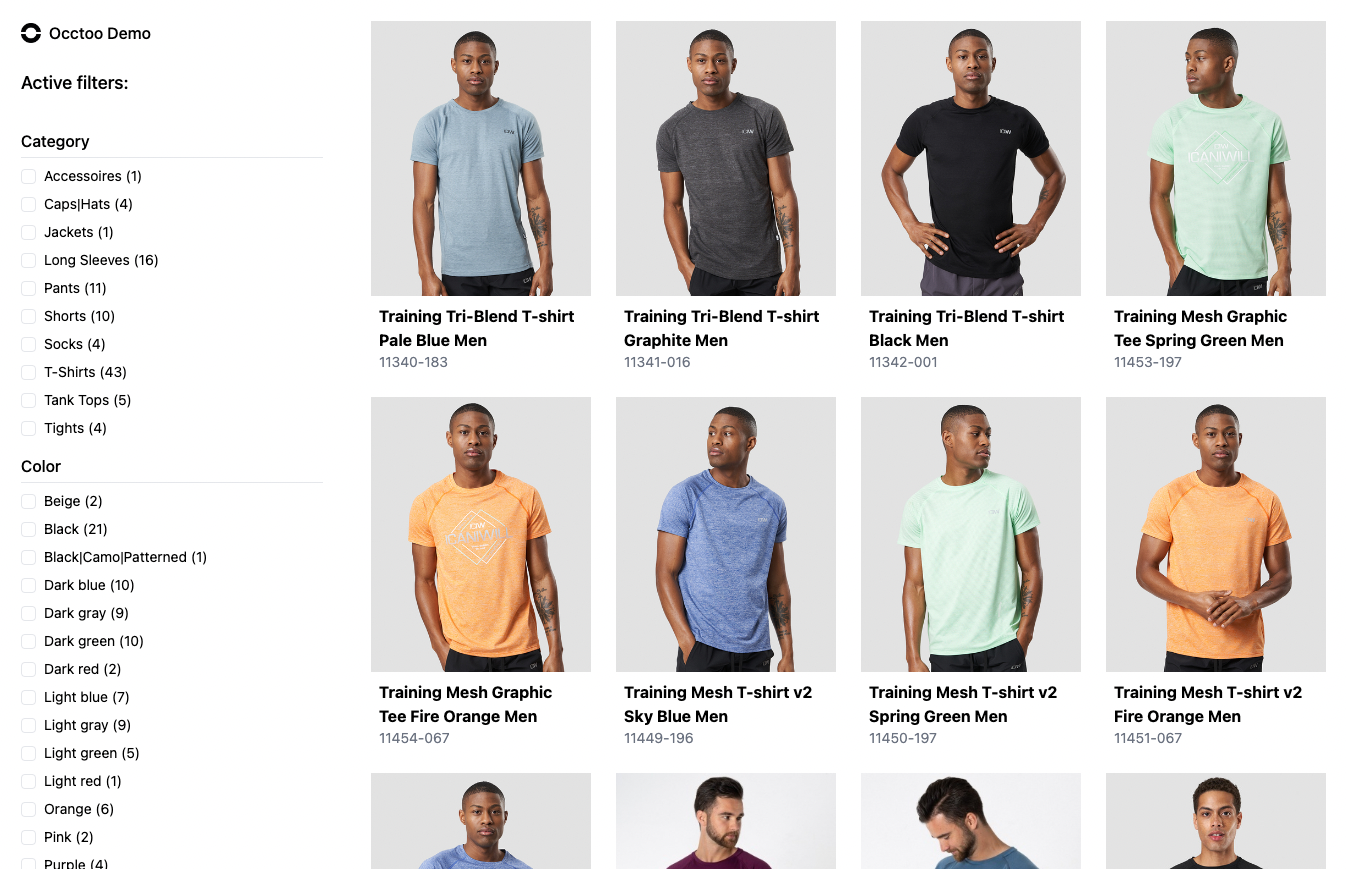
Filtering, sorting, and limiting data
Here's an example of how you can fetch products from a destination endpoint, filter them by category, sort them by ID, and limit the results to 14 items:
const getProducts = async () => {
// initialize the client
const destinationClient = new DestinationClient();
// fetch data from destination endpoint "products"
const destinationEndpointResponse = await destinationClient.post("/products", {
filter: [
{
must: {
category: ["Pants"],
},
},
],
sortAsc: ["id"],
skip: 0,
top: 14,
});
return destinationEndpointResponse;
};
Using the Response
The response from the destination endpoint will contain the data fetched based on the provided filters, sorting, and pagination. It will also include the auto-generated TypeScript typings, allowing you to access the data with type safety.
import { DestinationClient } from '@occtoo/destination-client';
const getProducts = async () => {
const destinationClient = new DestinationClient();
const destinationEndpointResponse = await destinationClient.post("/products", {
filter: [
{
must: {
category: ["Pants"],
},
},
],
sortAsc: ["id"],
skip: 0,
top: 14,
});
return destinationEndpointResponse;
};
export default async function ProductsComponent() {
const products = await getProducts();
return (
<div>
{products.results?.map((product) => (
<div key={product.id}>
<div>
{product.urls?.length && (
<img
src={product.urls.split('|')[0] + "?format=small"}
alt={product.id || "product"}
/>
)}
</div>
<div>{product.name}</div>
</div>
))}
</div>
);
}
Regenerating the Client
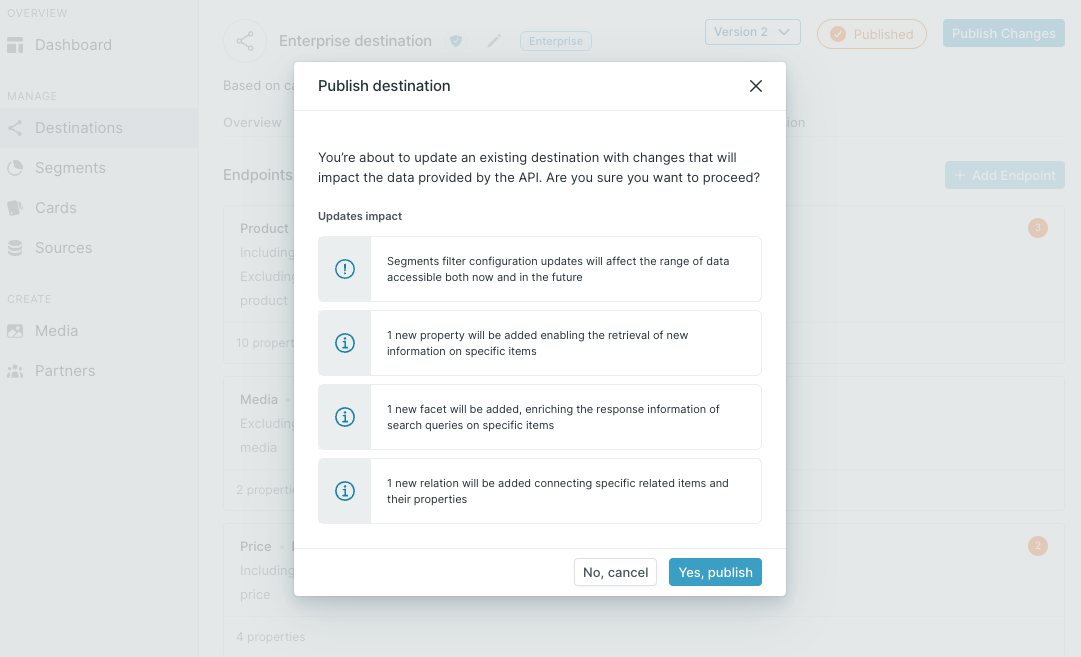
One of the standout features of the @occtoo/destination-client is how easy it is to regenerate the client when there are changes to the destination endpoint schema or version. This ensures that your client remains up-to-date with minimal effort. By simply regenerating the client, any modifications made in the Occtoo Studio UI are seamlessly reflected in your application code.
-
Optional: Update Configurations
If there's a new version of the destination you're using, update your configuration settings as needed in your .env file:
OCCTOO_DESTINATION_ID=...
OCCTOO_DESTINATION_URL=...Note: A new version of a destination is typically created when breaking changes are introduced to the schema. If you're using the same version, you can skip this step.
-
Regenerate the Client
Run the following command to regenerate the client:
npx @occtoo/destination-client generateDone! Your client is now updated with the latest schema changes and any breaking changes or new fields will now be reflected in your application code. 😲
No more shady type definition files, no more outdated clients
No more struggling in the dark and being unaware of the types provided by REST APIs 🕵️♂️ No more outdated clients that break your app when the schema changes 🤯

The @occtoo/destination-client npm package simplifies the process of interacting with your data, offering an intuitive API, automatic TypeScript typings generation, and effortless client regeneration. Through Occtoo and this package, developers can seamlessly connect to various systems and effortlessly fetch data without the headache of manual configurations and tedious updates.
Give it a shot today or book a demo and witness the smoothness of data integration with Occtoo's destination services!