

1
Choose a delivery type
On the listing, click New subscription.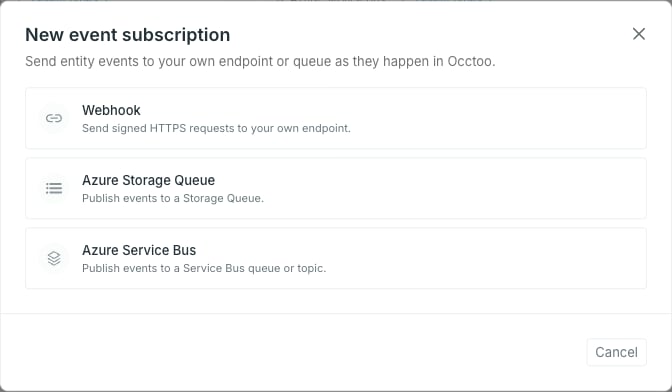
2
Name it and point it at the target
The Name is yours — it identifies the subscription in Studio and nothing else.Webhook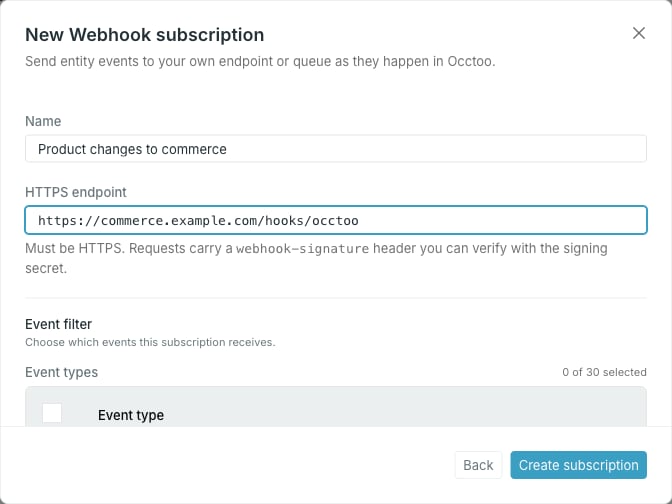
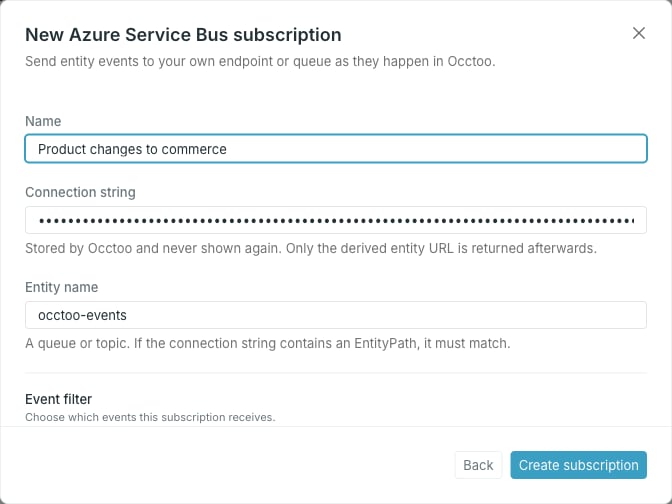
https://. Every event delivery request carries a webhook-signature header you verify with the signing secret — see Signing secrets.Azure Storage Queue and Azure Service BusThe connection string is stored by Occtoo and never shown again — afterwards only the derived queue or entity URL comes back. If the connection string carries an
EntityPath=, it has to name the same entity you typed, and the dialog blocks the mismatch before it reaches the API.3
Choose the events
Pick at least one event type, and optionally narrow it with conditions. See Build the event filter.
4
Create it
Click Create subscription.A Webhook shows its signing secret once, then opens in Pending verification — no events are delivered until the endpoint is verified. A queue subscription has no secret and no verification step: Studio opens it straight away.