
Welcome to start the trial

We are very happy that you’ve decided to give Occtoo a go and hope that the trial will provide you with all answers you might have. If not, do not hesitate to reach out to your appointed CX representative. On this page we’ve saved a set of useful links along with an introduction to help guide you through the trial environment that you’ve been given access to. The environment has been preloaded with data that is there to further aid in the understanding of how Occtoo fits in the new digital landscape and to display how easy it is to create tailored APIs for any digital initiatives you might have going on. As a starting point, we strongly recommend that you at least skim through the Occtoo blocks concept page to get a better understanding, not only of the different parts that make up Occtoo, but also what their purposes are.

TL;DR

In a hurry? Don’t worry, we’ve saved a set of useful links at the bottom of this page to get right into the action.

Catalog

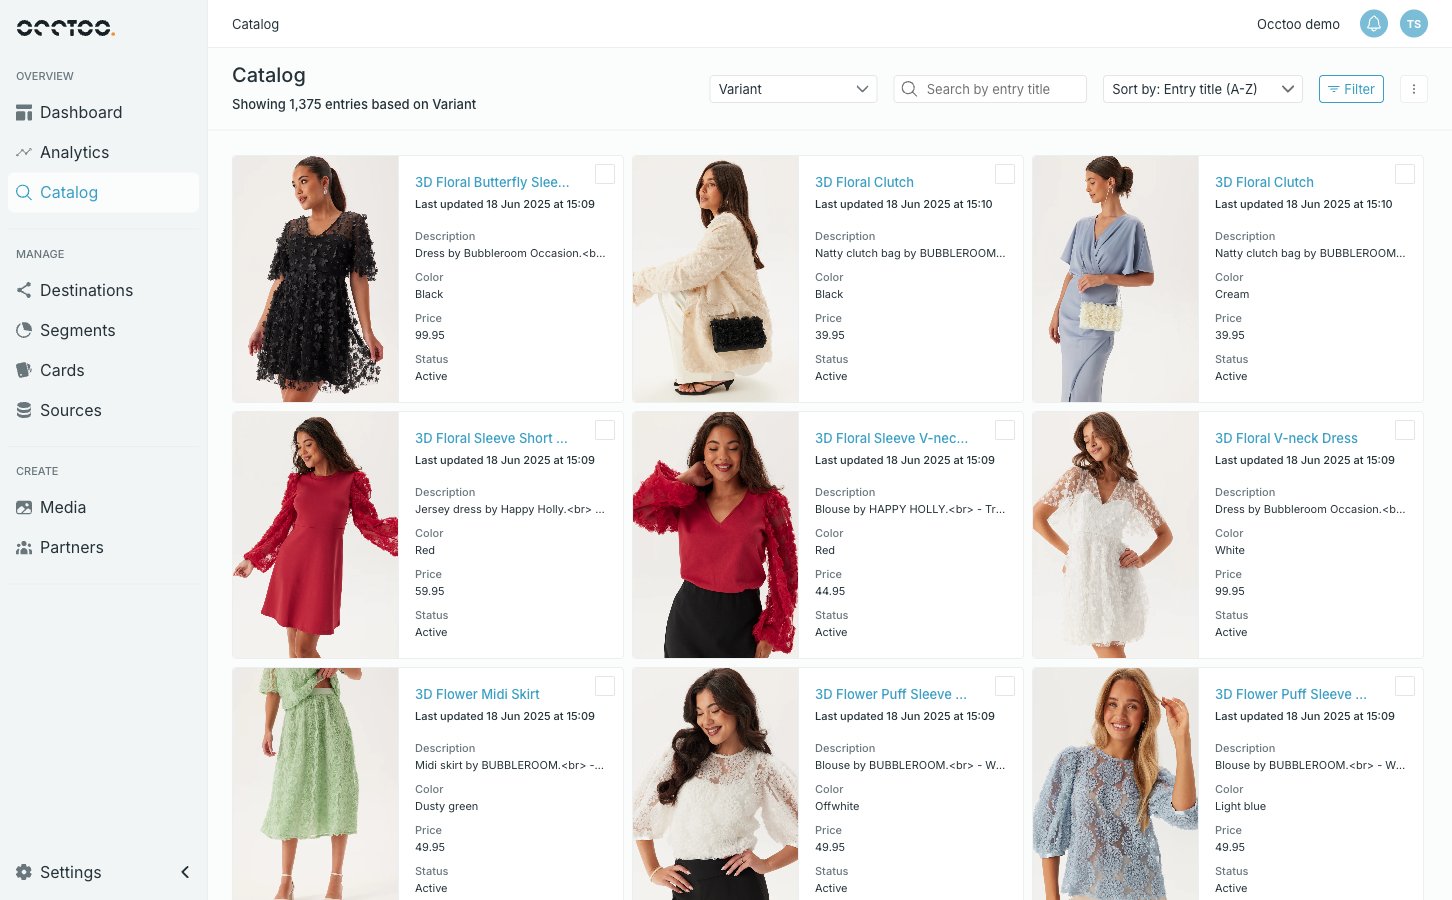
The catalog section is a powerful part of Occtoo, adding many new functionalities to the platform. It’s a way for users to find and manage products, variants & SKUs with ease, as well as enriching them. The datamodel supports variants, hierarchies, localization, business logic and more to craft comprehensive product experiences for complex and configurable products. The Catalog page Catalog shows the entries of one card at a time. Pick the card, then search or sort your way to what you need, or filter on any property to cut the list down. Opening an entry gives you its values, which you can edit by hand where the card allows it, along with its relations, its history and everything that publishes it. A filtered list can be turned straight into a query segment, and a hand-picked set of entries into a fixed one. You can also add a single entry, import many at once or export what you are looking at.
Source

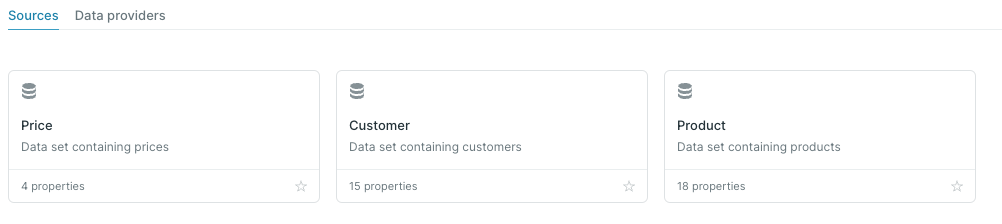
Source is the block that displays the data that has been onboarded into Occtoo. The trial version offers limited functionality in this block but don’t worry; we’ve created three data sources (product, price and customer) and pre-loaded them with data. An image from the static In the non trial version of source you can either create new data sources or manage (edit or delete) existing ones. You also have the possibility to dive into a data source, search for, and inspect individual data entries that’s been onboarded, even removing them if the need arises. In the full version you also have the possibility to import data using CSV directly into a data source. In order to programmatically upload data into a source one is in need of a data provider, these are also managed (created, edited and deleted) within the source block. Alright, so now we have some data in the system … let’s do something useful with it in Cards 👇!
Card

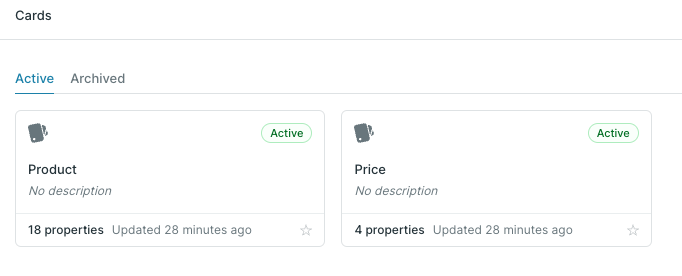
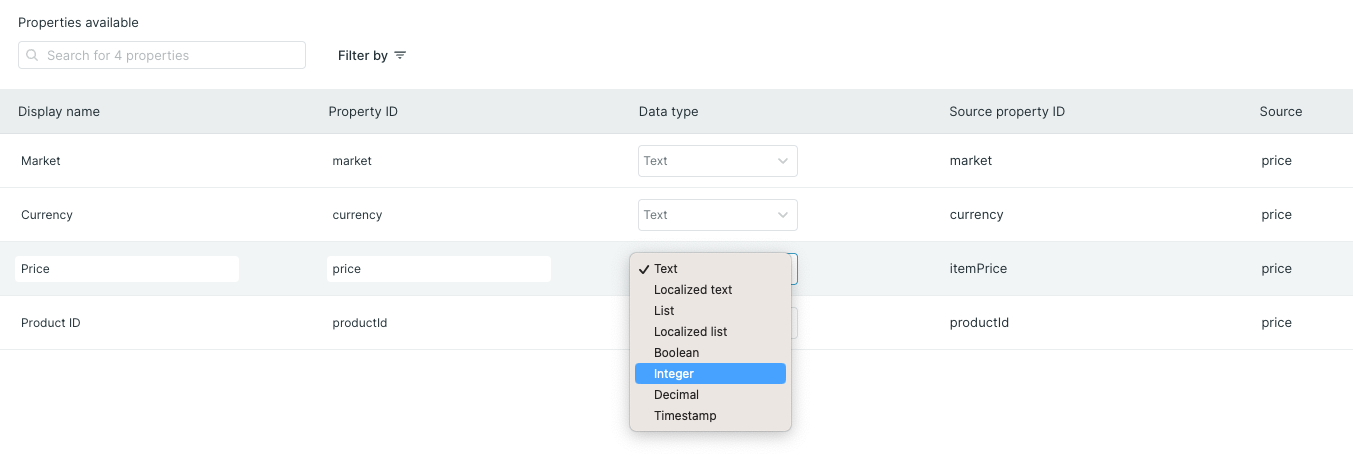
The Card block is where you “bring order to chaos” in the sense that it allows you as a user to model and repurpose the onboarded data into entities that you want to provide as data via APIs. We’ve prepared two cards (product & price) that are ready to use. An image from the static The starting point in cards is obviously the creation of a new card which includes defining its name and description as well as which data source to base the card upon. When defining which data source to use in the card, all properties in that data source are automatically made available when defining which to use on the card. When adding the card you also get the possibility to add structure to the otherwise unstructured data that was onboarded in the sense that you for individual properties get to define, not only its name and identifier, but also what type of data that it has. An image from the static The time to complete the task of creating a card, and defining its included properties, can vary drastically from case to case and hence you always have the possibility as a user to get back to your card and update properties, adding new ones or changing old ones. When you are satisfied with the card that you’ve created you activate it, resulting in the card being available to use in a destination. Even with a card activated you have the possibility to edit or add new properties to the card. Any pending changes to an active card are shown in the Status column of the card’s properties table. Prior to appending any changes the user has the possibility to alter, and even remove, any planned changes to the card. When done just activate the card as previously. If a card has run its course and has no further use, users have the possibility to archive the card. This results in the card not being available for new destinations and no data updates to the card will be processed. Whohooo! We have structured the unstructured data in a manner that it’s ready to be provided to the world 🥳. Now let’s dive into segments and see how we can control what data is made available.
Segment

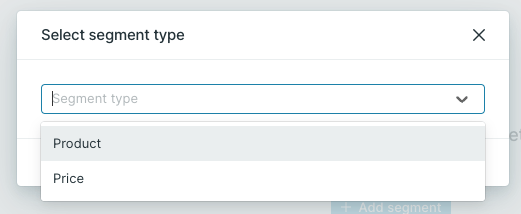
The Segment block helps users ensure that the correct content is delivered given the context in which it is provided. And as always, we’ve prepared two segment categories (product & prices) ready to be used in the exploration of Occtoo. An image from the static Every segment belongs to a segment category. A category groups segments that are built on the same card, so they are easier to organise and find. Categories are managed (added, then renamed or deleted) from the segment block. Now that we got a segment category in place we are ready to start creating segments. A segment defines a sub-selection of a data set based on either a query or as a fixed list. Examples could be ‘product based segment that includes all red t-shirts’ or ‘price based segment that includes all prices based on a specific market’ or ‘just these three specific products’. After creation a segment can be used to filter the data provided in an endpoint, giving the creator control over what is made available. From the segment block users have the possibility, not only to add new segments, but also to edit existing ones. We are almost at the crescendo, hold on for a little while longer 😅! We’ve gone from inspecting the onboarded data, to re-purposing it via cards to selecting what data we want to provide. We are now looking at the last piece of the puzzle, providing data as a real-time API.
Destination

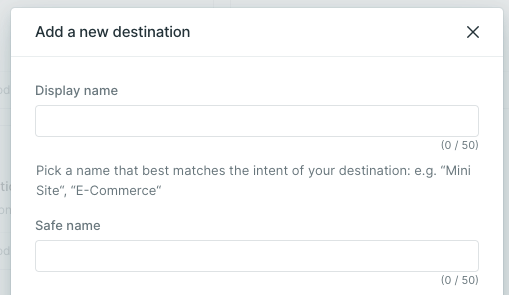
We’ve arrived at our final destination (pun intended) of this introduction/crash course to Occtoo; the Destination block. Destinations are where the custom APIs are crafted, giving you as a user the possibility to create tailor-made endpoints for your specific purpose and use case. In the trial, the only limitation applied is that you are not able to create public destinations. An image from the static The destination block provides possibilities to manage (create and delete) your destinations and within an individual destination (that is yet to be published) you have the possibility to adjust it to your purpose. Whether that is adding additional languages, adding new endpoints, adding a segment as an endpoint filter, or selecting properties and defining facets and aliases for an endpoint; this is the place you go. When examining the details of a destination, you also have the possibility to manage (registering new ones, resetting secrets or removing access) the applications that can communicate with it. As a user you have the possibility to manage applications regardless of the publication status of a destination. Be sure also to check out the generated documentation for your destination, either directly in the app or by downloading it from the documentation tab.
Wrap-up

Congratulations, you’ve managed to get through this page (hopefully not too confused 😉). This means that you now have an overview of all the core components of Occtoo and how to convert enterprise data to experience data. Something still unclear? Do not hesitate to reach out to your appointed CX representative or drop a mail to support. Below we’ve composed a cheat sheet with the useful links to get going.

Catalog

Source

Card

Segment

Destination

You can find all Occtoo Studio articles here >>