

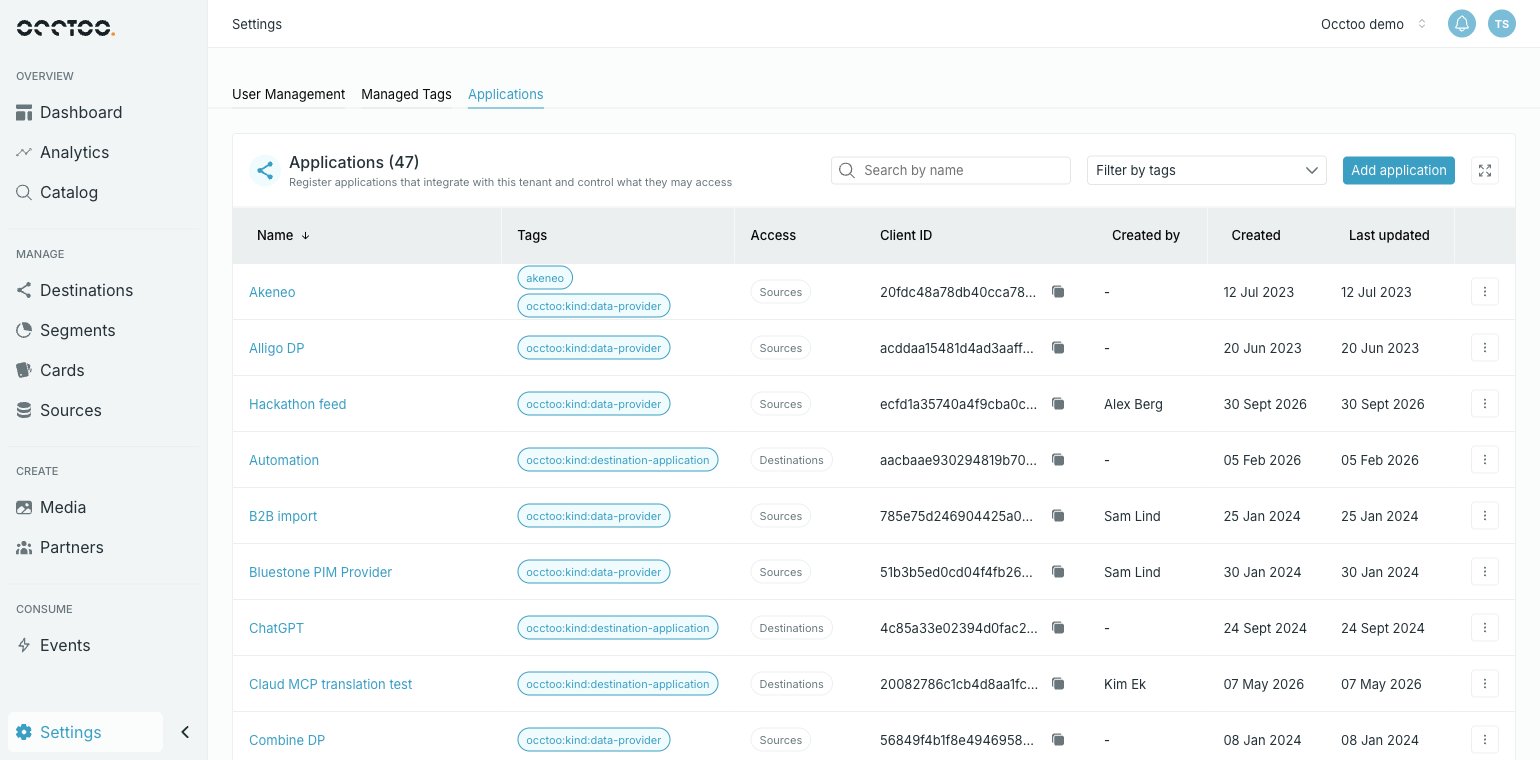
The list
Each row shows the application’s Name (hover it for the description), its Tags, an Access summary, the Client ID with a copy control, who created it and when, and when it was last updated. Access names the top-level areas the application holds a grant in; hover it for the full list of sources, destinations and APIs. Sort by Name, Created by, Created or Last updated from the column headers.Find an application
- Search by name narrows the list as you type.
- Filter by tags offers every tag in use. Pick several to see applications carrying any of them.
Add an application
1
Open the form
Click Add application.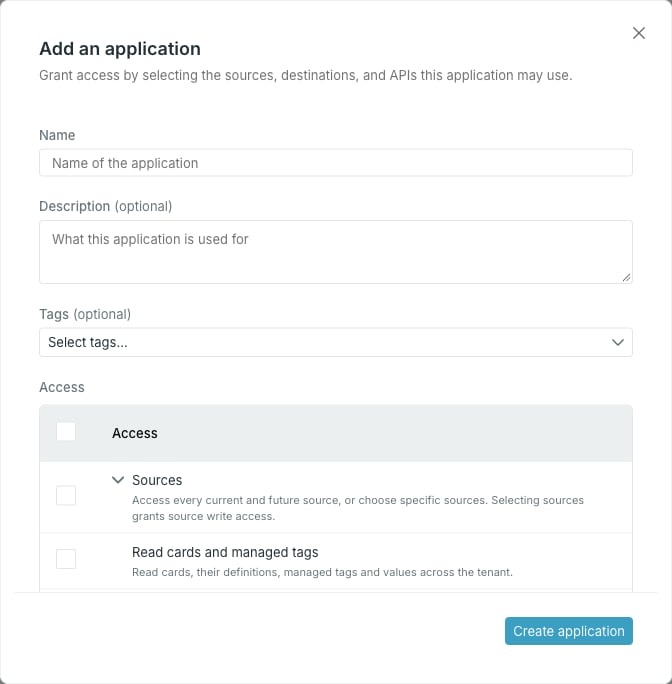
2
Describe it
- Name — required.
- Description — optional; shown when you hover the name in the list.
- Tags — optional labels for grouping applications, for example by team or integration partner. Pick an existing tag, or type a new one and choose Create ”…”.
3
Grant access
Access lists what the application may do. Each row says what it grants.
- Sources and Destinations expand into the tenant’s sources, and its destinations and versions. Tick the top row to cover every current and future one, or expand it and tick only some — then sources or destinations added later are not included. Selecting sources lets the application write to them.
- The other rows are capabilities across the tenant, such as reading or managing cards and managed tags, the Events API, and MCP tools.
4
Create it and copy the secret
Click Create application. Studio shows the application’s Client ID and Client secret.
Edit an application
Open the row’s menu and choose Edit application. Change the name, description, tags or access, then click Save changes. Access changes apply to the existing credentials — there is no new secret. If someone else saved the application after you opened it, Studio refuses the save. Reopen the application and apply your changes again.Get an access token
Choose Get access token from the row’s menu to get a token for trying out the application’s access, for example in a terminal or an API client. When the application has access to a destination, Target API audience picks what the token is for: Tenant API (all granted scopes), or one destination version. The token is generated as soon as the dialog opens and changes when you pick another audience. The dialog shows how long it stays valid.Studio never stores these tokens. In production, an integration should request its own tokens with its client ID and secret.
Delete an application
Choose Delete application from the row’s menu, type the application’s name and click Yes, delete application.Data providers and the applications registered on a destination’s Applications tab are tenant applications too, and appear in this list tagged
occtoo:kind:data-provider or occtoo:kind:destination-application. Filter by those tags to see one kind. See Add a data provider and Register an application.