1
Open the Properties widget
Open the card and press Add Property in the Properties widget.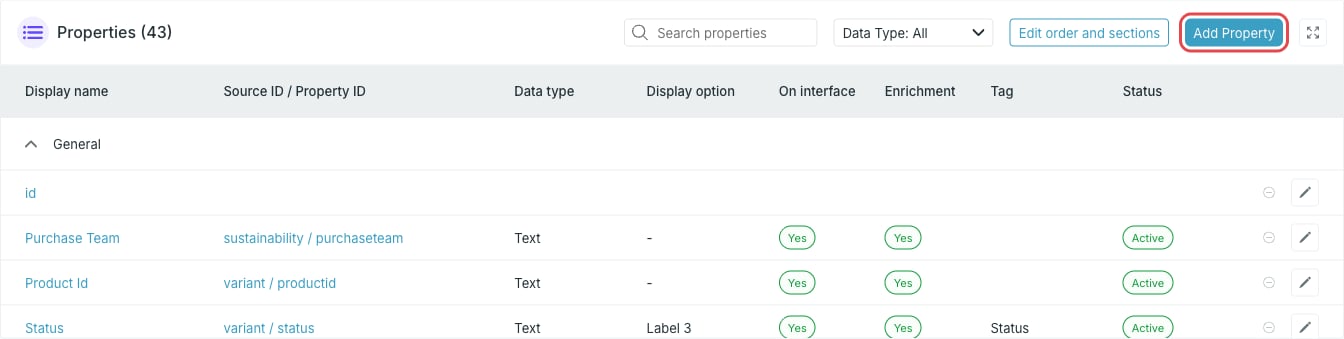
2
Fill in the basic settings
The Add new property dialog groups its fields into Basic settings, Interface settings and Advanced settings. The first two are open by default.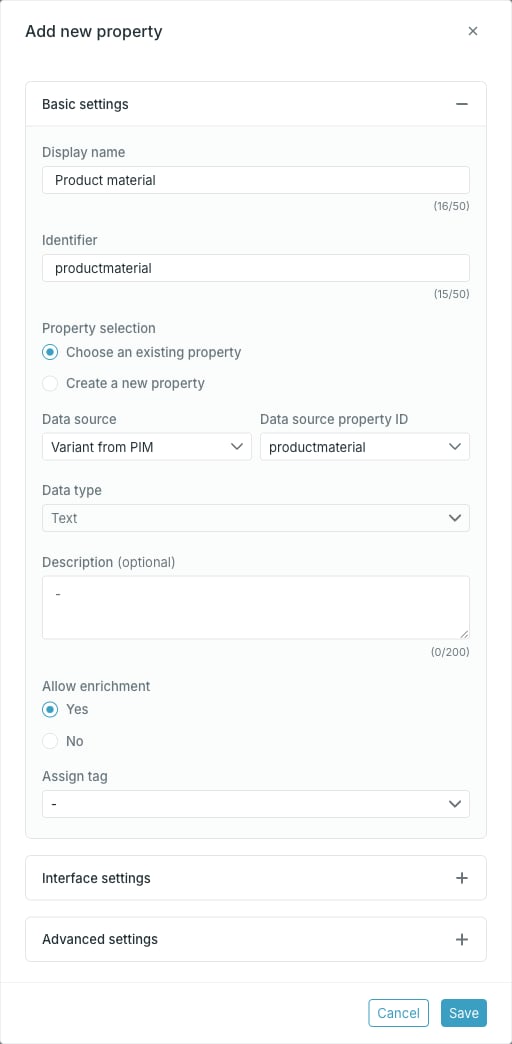
- Display name — required. The name shown in Studio.
- Identifier — required. This is the name destinations using this card will see. It is derived from the display name as you type, until you edit it yourself.
- Property selection — Choose an existing property maps a property that already exists in the data source. Create a new property writes a new property to the source instead.
- Data source — required. Only sources the card is built on, plus sources that share IDs with them, are listed.
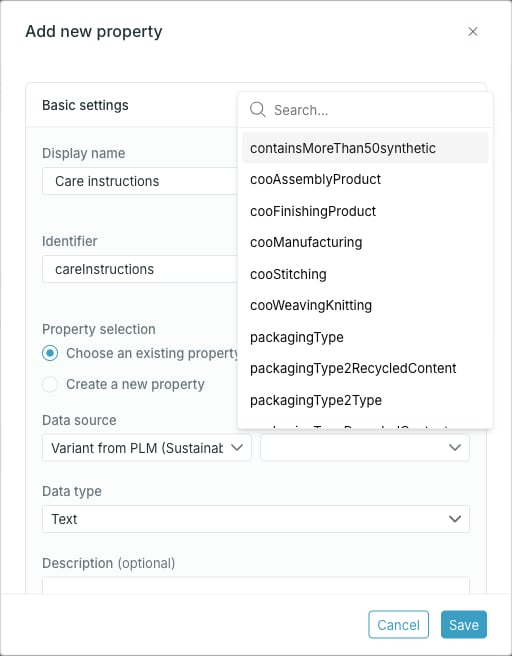
- Data source property ID — required. Searchable list of the properties in the selected source.
- Data type — required.
- Delimiter — required for List and Localized list: the character that separates values in the source, such as
|. - Description — optional.
- Allow enrichment — whether the value can be edited on an entry in the catalog.
- Assign tag — connects the property to a managed tag list.
Picking a property in Data source property ID replaces Identifier with the identifier suggested by the source, so set the identifier after choosing the property, not before.
3
Set the interface settings
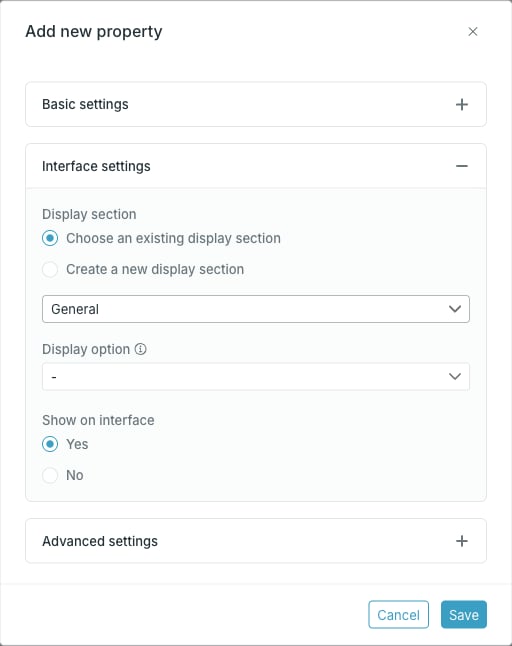
- Display section — Choose an existing display section picks one of the card’s sections; Create a new display section lets you type a new name.
- Display option — which slot on an entry card this property fills. See Display sections and display options.
- Show on interface — Yes shows the property on entries in the catalog, No hides it while keeping it available to destinations.
4
Save
Press Save. Save stays disabled until you change something.On a Draft card the property is added straight away. On an Active card it is added as a pending change and appears with status New until you press Activate card — see Work with pending changes.
Data type and delimiter come from the source
When you map an existing source property, the source decides the type. If the source pins a type and offers no conversions, Data type and Delimiter are locked, and the tooltip offers an Open data source page link to change it at the source.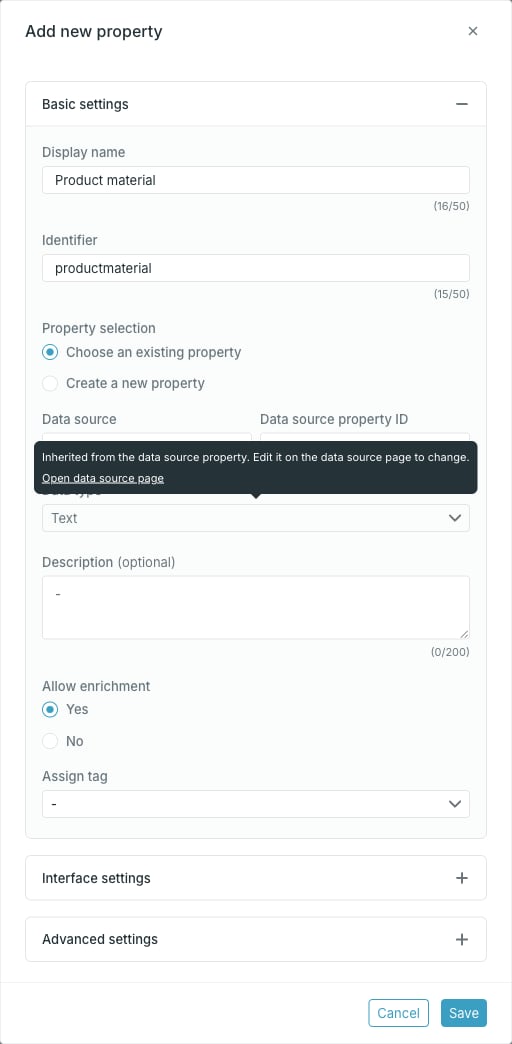
To use a type the source does not offer, change the property, or its allowed conversions, on the data source itself.
Creating a new source property from the card
Pick Create a new property when the value does not exist in the source yet. The first field becomes Save property to data source and Data source property ID becomes a free-text field, prefilled from the identifier. Data type is yours to choose, because no source property constrains it.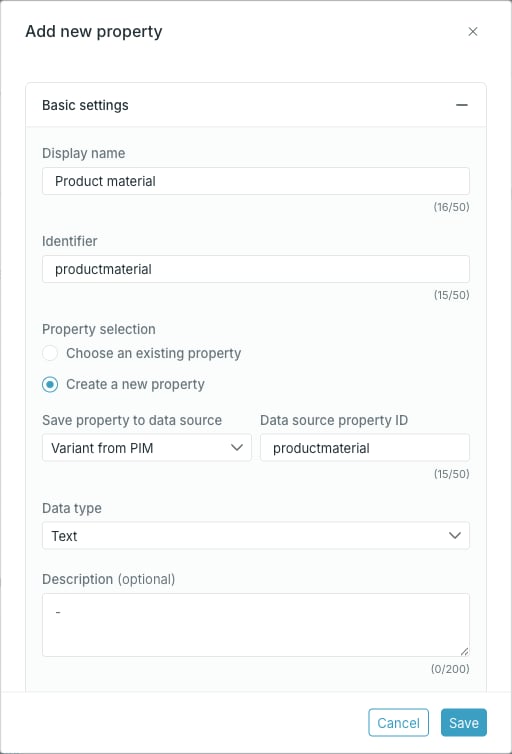
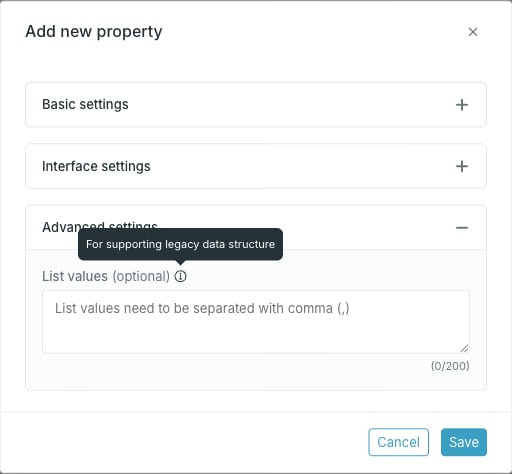
Advanced settings
Advanced settings is collapsed by default and only appears for the Text and List data types. It holds List values, a comma-separated list kept for legacy data structures.