1
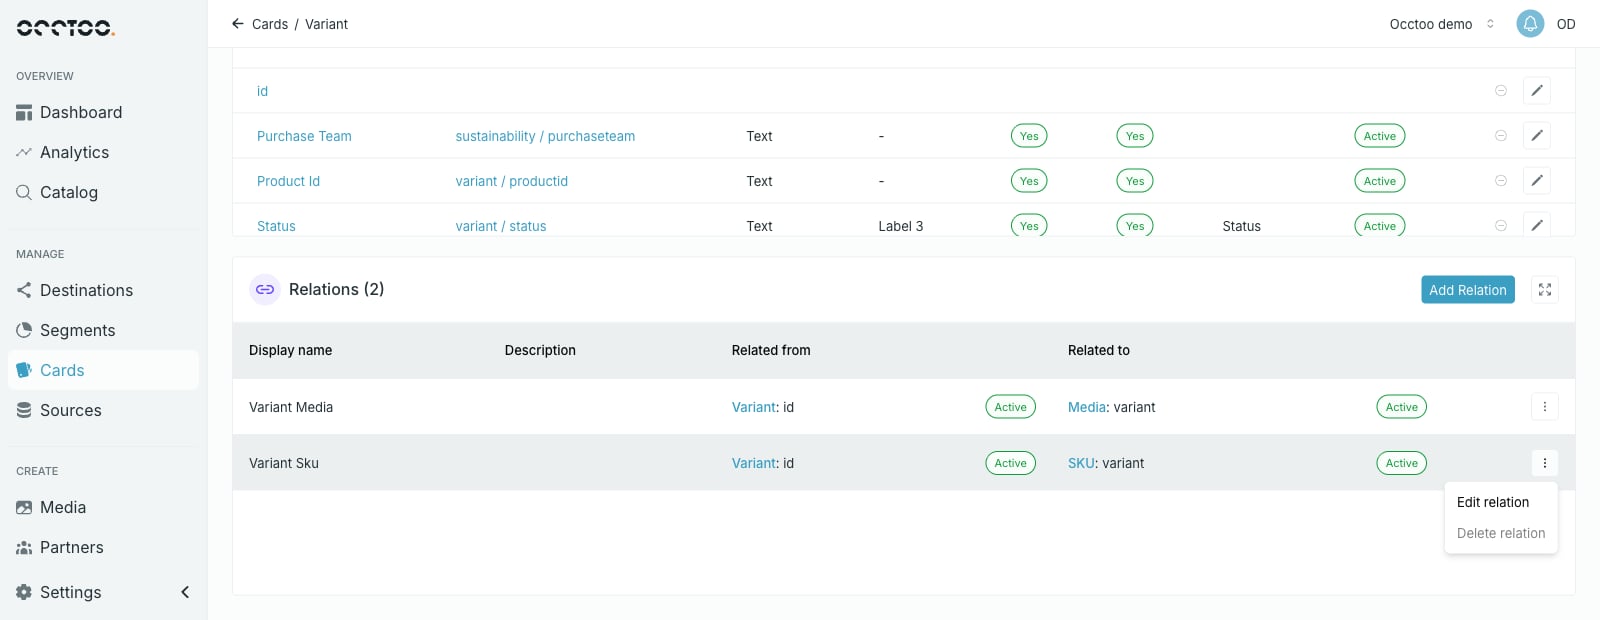
Open Add Relation
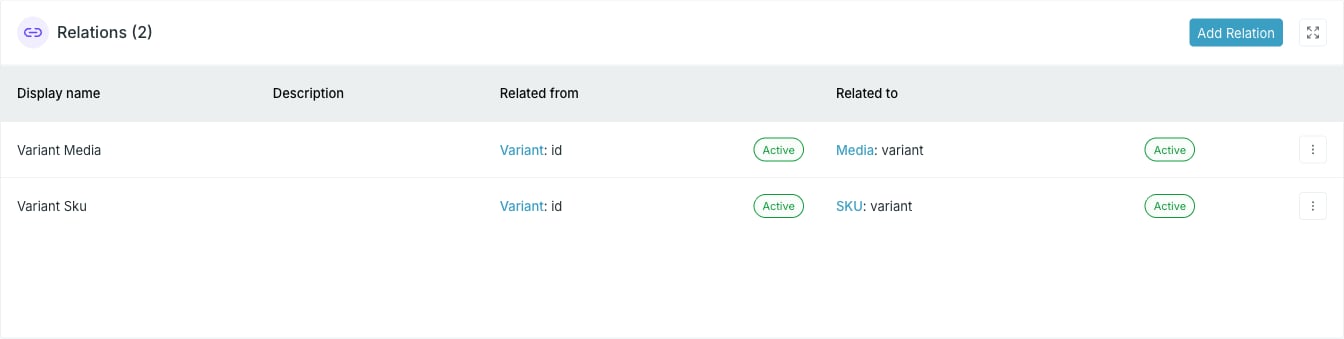
Press Add Relation.
2
Name the relation
- Name — required.
- Identifier — required, derived from the name. This is what destinations use.
- Description — optional.
- Display category — Default, Show sources, Show targets or Show target and source. Controls how the relation is presented in the catalog.
3
Pick the two sides
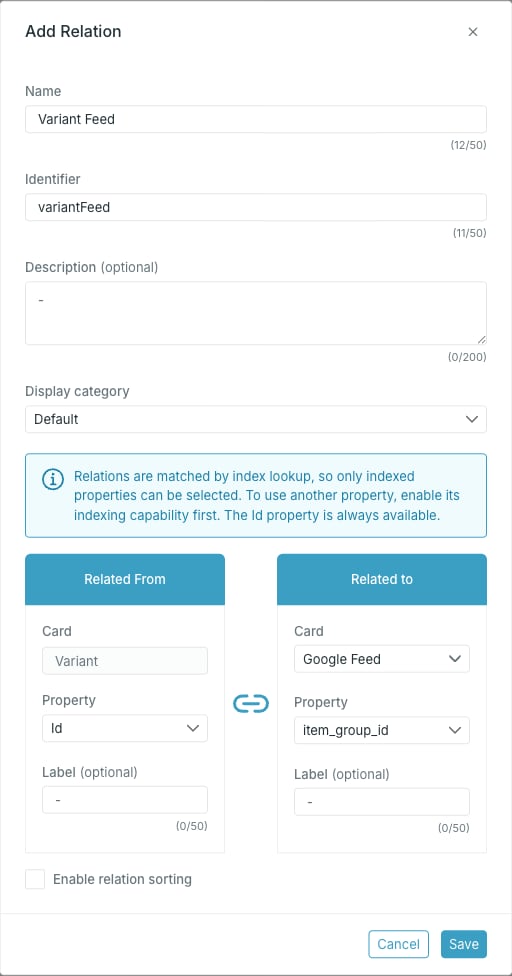
The labels are display names used inside Studio: on the Relations tab and the entry hierarchy panel of an entry, and on relation-based filters in the segment builder. Where a label is empty, Studio falls back to the relation’s Name.
Relations are matched by index lookup, so only indexed properties can be selected — to use another property, enable its indexing capability on the source first. The
id property is always available.4
Sort the related entries (optional)
Tick Enable relation sorting to control the order related entries come back in. This is only available once a Related to card is chosen.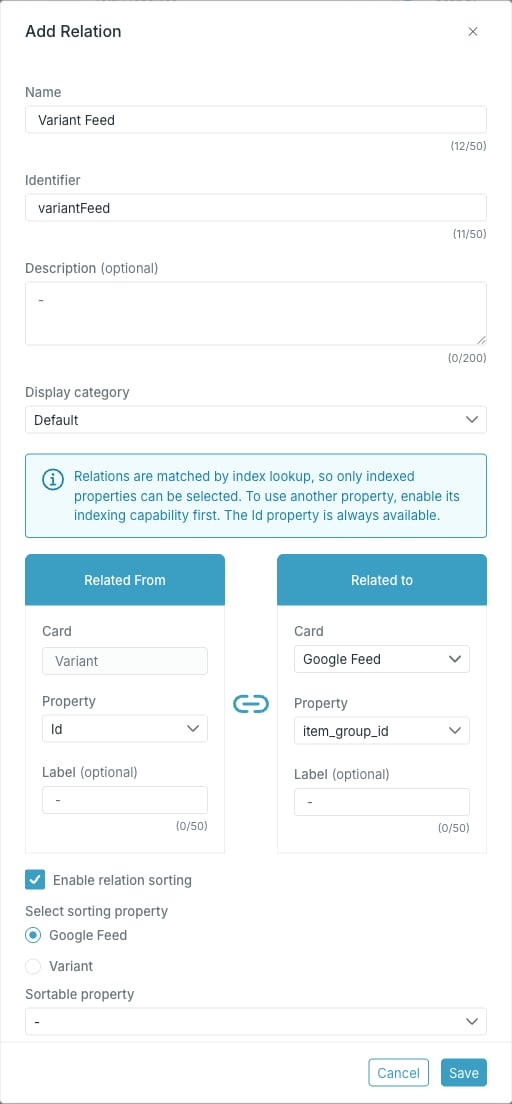
The sortable property list is filtered by side: from the target card only Integer and Decimal properties are offered; from the source card only List properties are, because the list’s order defines the sequence.
5
Save
Press Save. The relation appears in the table, with the status of each card next to it.
Edit or delete a relation
The menu at the end of a relation row holds Edit relation and Delete relation.