

Display options
A display option assigns one property to one slot. Set it in the property dialog under Interface settings, or on the Display option column of the properties table.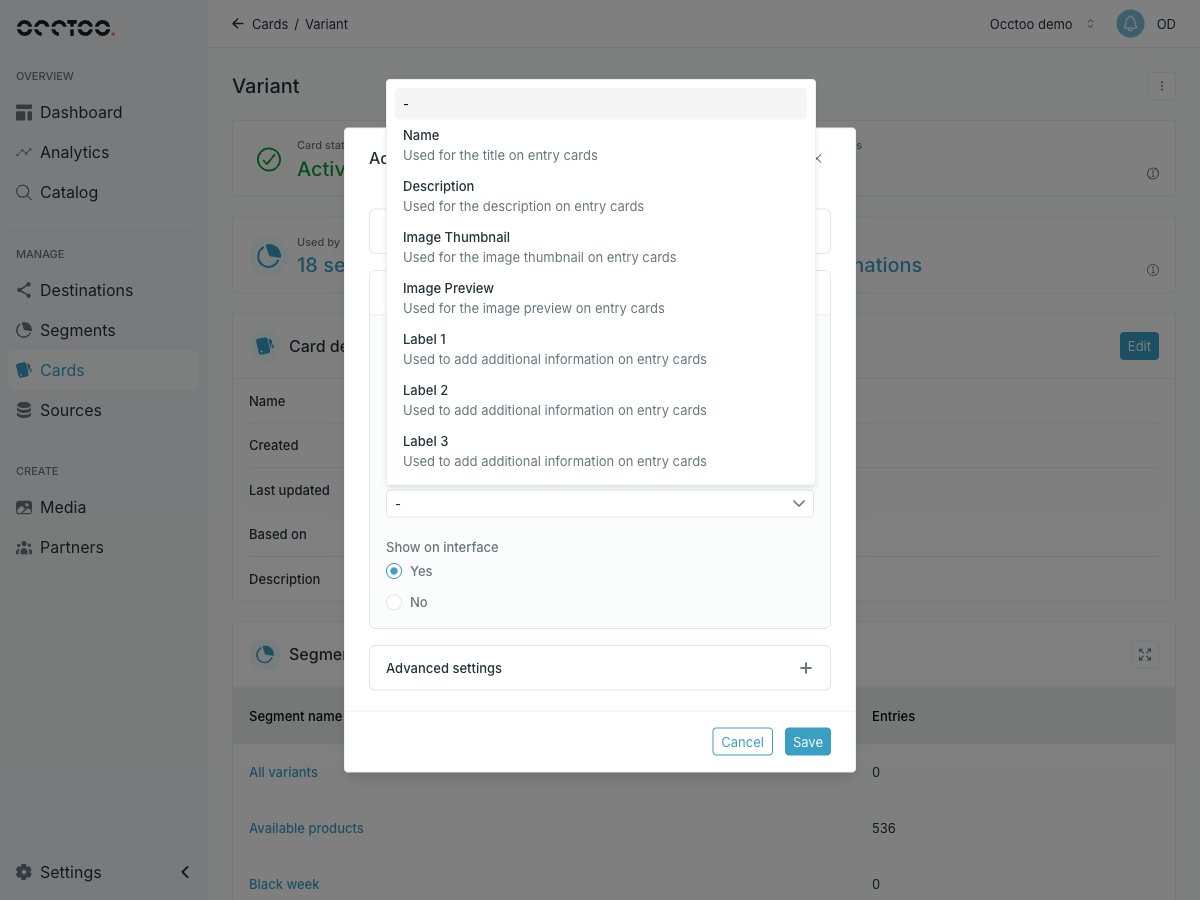
Pick
- to give a property no display option.
These are the settings that used to be called “Select as card name”, “card description” and “card image”. Image Thumbnail and Image Preview expect the property to hold an image URL.
Display sections
Every property belongs to a display section. Cards start with a section called General, and you can add as many as you need. Sections only show on the interface when they hold at least one property. Assign a section in the property dialog under Interface settings, with Choose an existing display section or Create a new display section.Reorder sections and properties
Press Edit order and sections in the Properties widget. The dialog opens full screen and lists every section with its properties.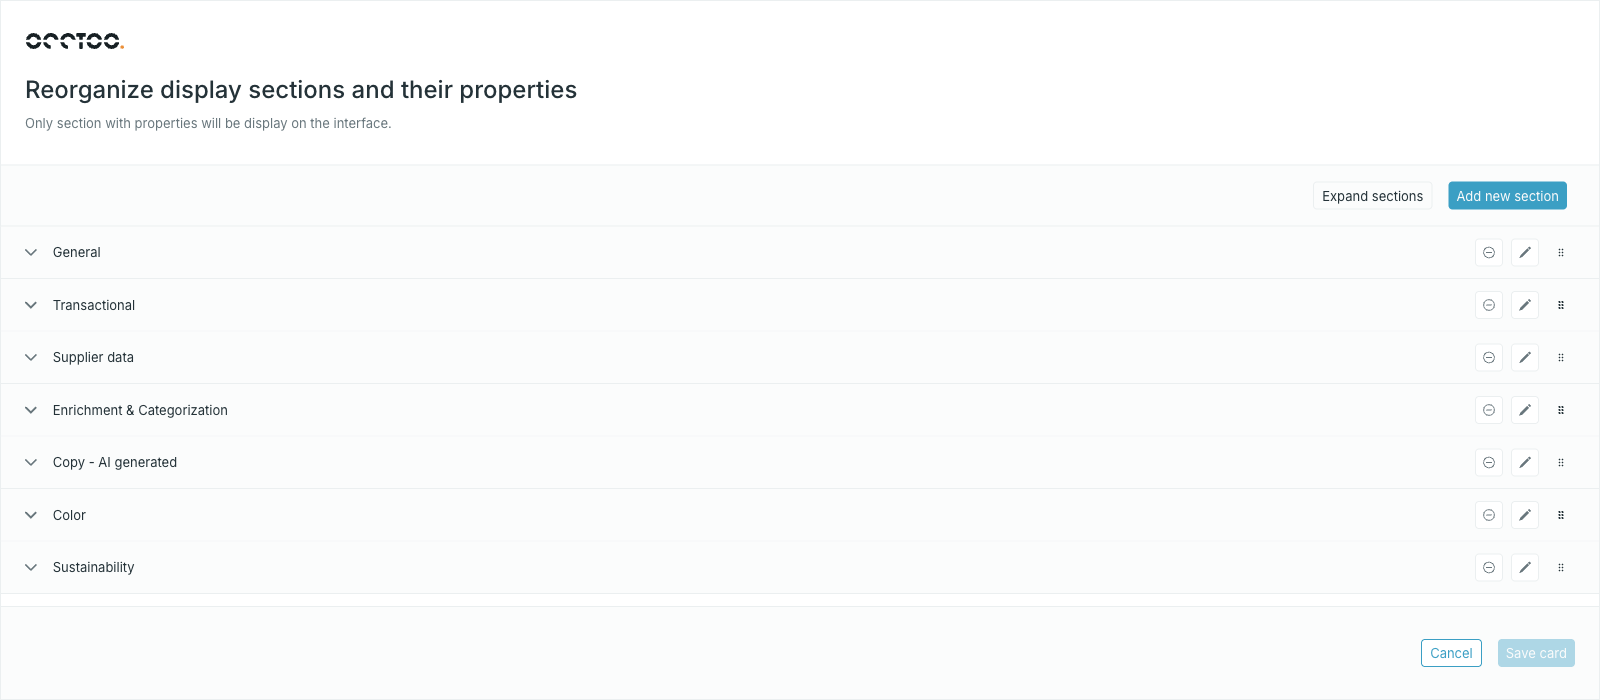
- Drag the handle on a property to move it inside its section or into another one.
- Drag the handle on a section header to reorder sections.
- The icons on a section header remove or rename it.
- Collapse sections and Expand sections toggle the whole list; Add new section appends one.
The properties table on the card page is grouped by these sections, in this order, so the table mirrors what catalog users see.