

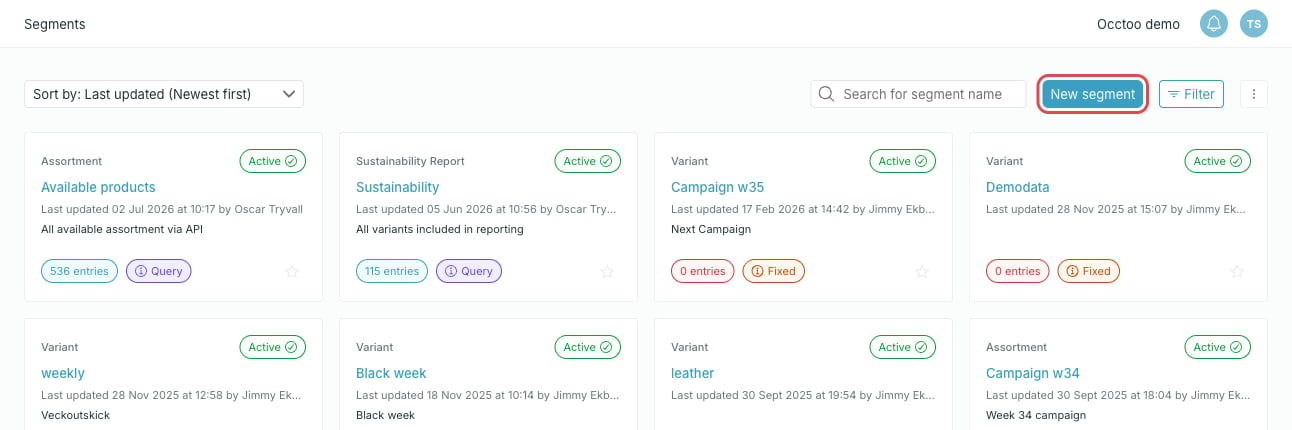
1
Fill in the segment details
- Name your segment — required, and unique within the selected category.
- Which card do you want it to be based on? — required. The segment can only contain entries from this card.
- Select a category — required. Categories group similar segments together. See Create a segment category.
- Tags — optional. Free-text labels on the segment, described below.
- Schedule segment — optional start and end date. See Schedule a segment.
-
Add a description — optional.
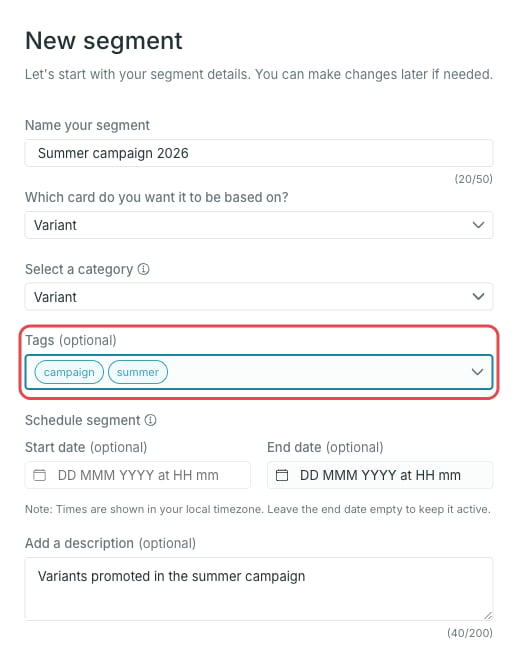
The card list only contains active cards. Selecting a different card resets the category and any filters you already picked.
Tags travel with the segment as metadata: a destination can fetch the tags of the segments it serves, so the receiving side can act on them without hard-coding segment names.
2
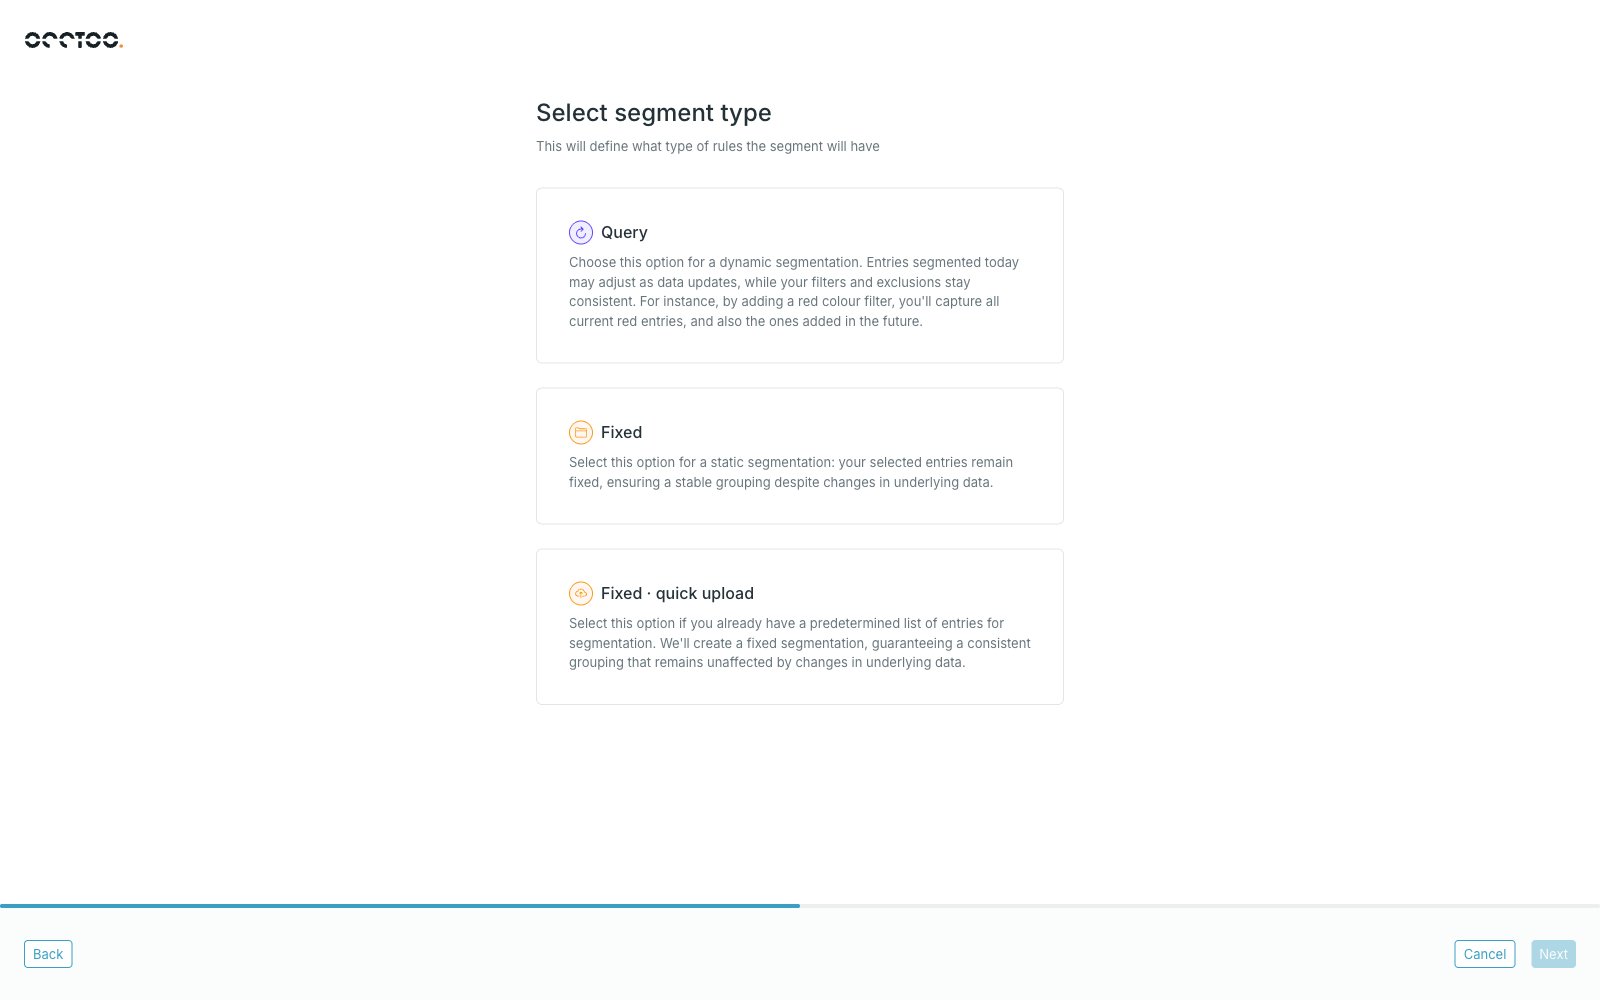
Select the segment type
The segment type decides how the entry selection behaves over time.
- Query — dynamic segmentation. Entries are re-evaluated as data changes, while your filters and exclusions stay the same. A red colour filter, for example, keeps capturing red entries that are added later.
- Fixed — static segmentation. The entries you pick stay in the segment even when the underlying data changes.
-
Fixed · quick upload — static segmentation built from a CSV list of entry IDs. See Upload a fixed segment.
3
Select the entries
The selection view lists every entry on the card. Use Filter to narrow it down, Search by entry title to look for a single entry, and Sort by to change the order.
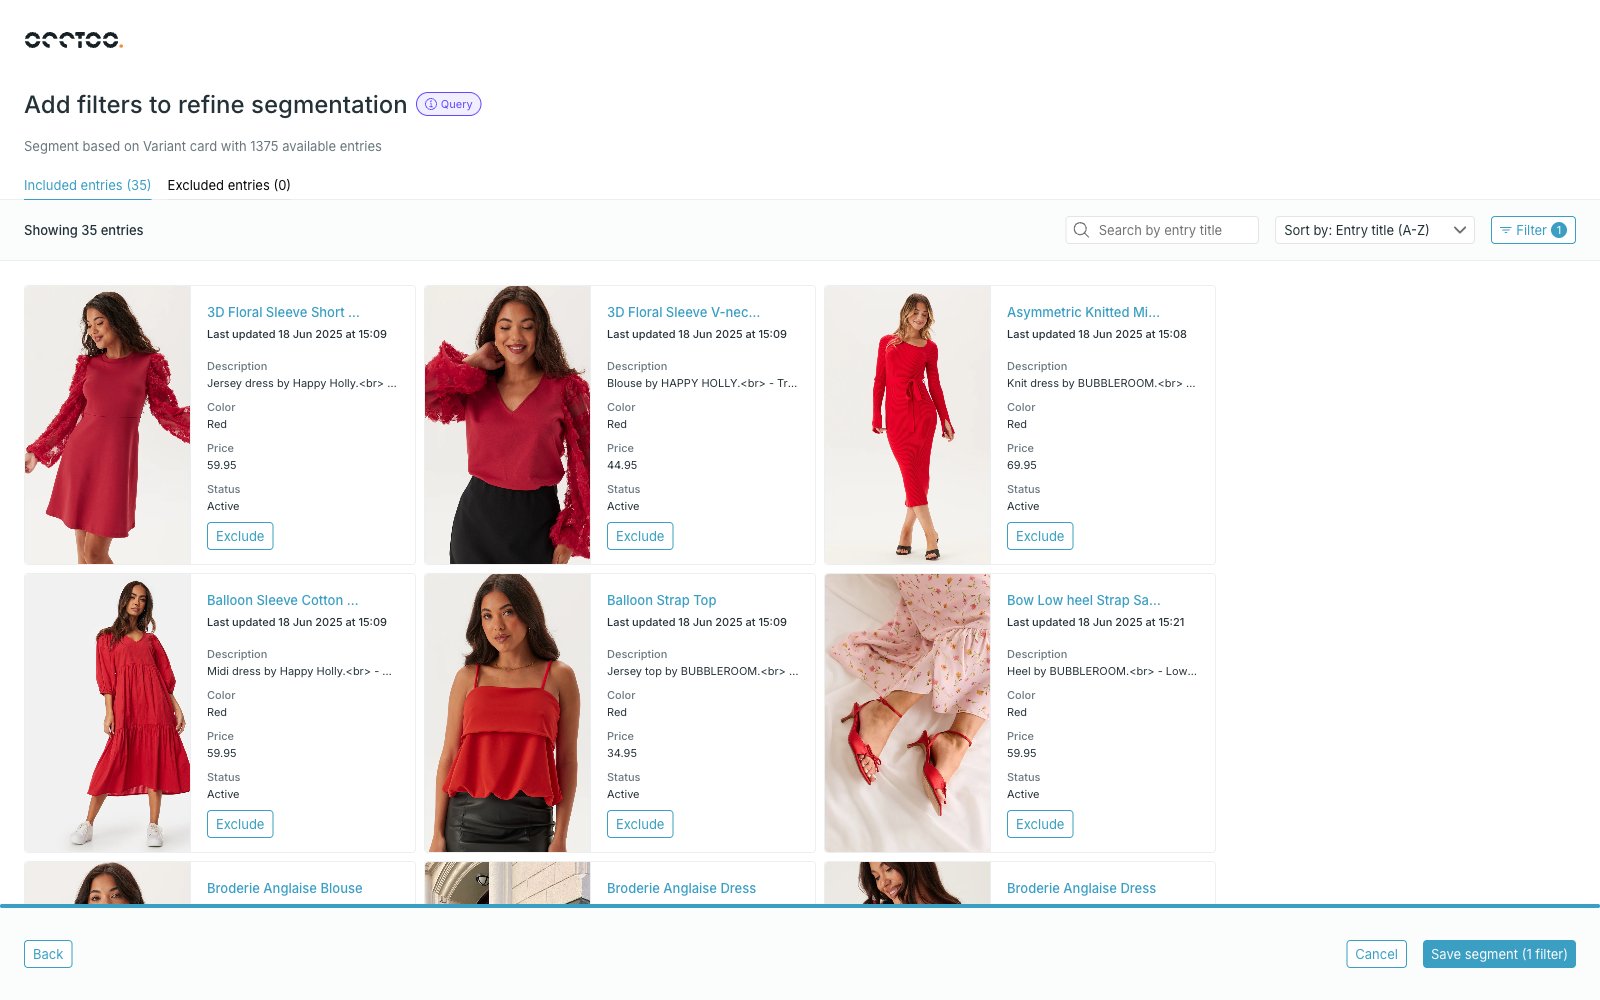
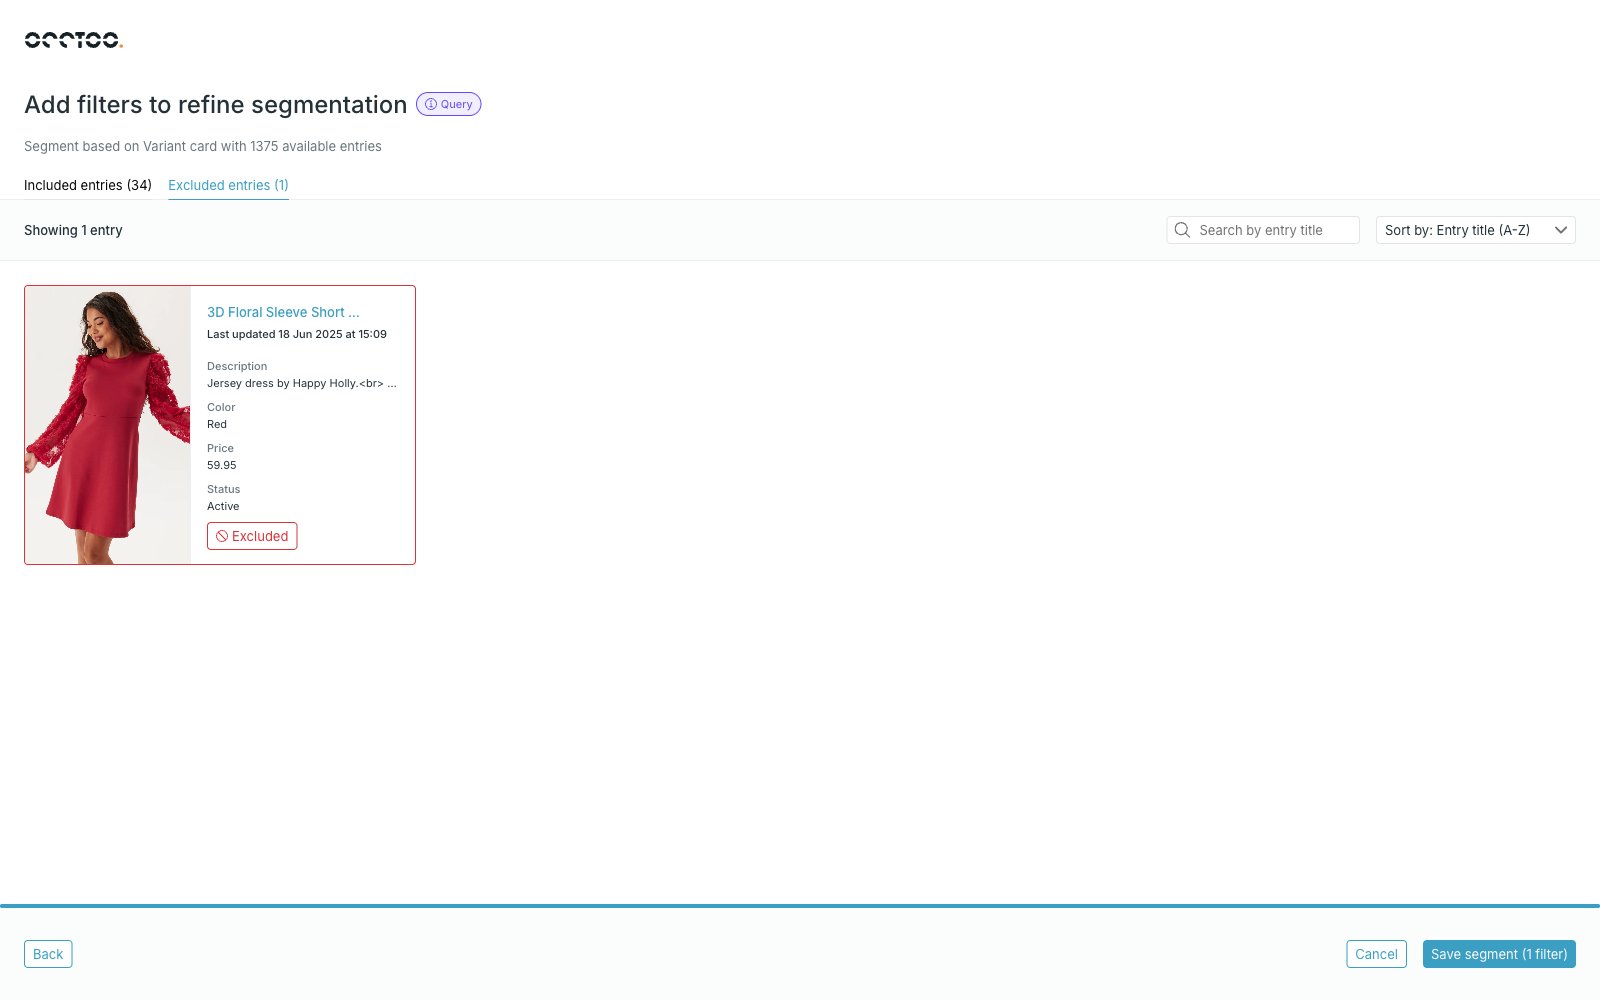
Filtering has its own page with every filter type and operator: Filter segment entries.
4
Save the segment
Press Save segment in the lower right corner. The button also shows how many filters the segment is saved with.After saving, Studio asks whether the segment should be included in a destination. Choose Yes, include in Destinations to pick destinations right away, or No, I’ll do it later to open the segment page.
A new segment starts in Initializing status and becomes Active once the entries are processed. Allow a few minutes for large segments.