

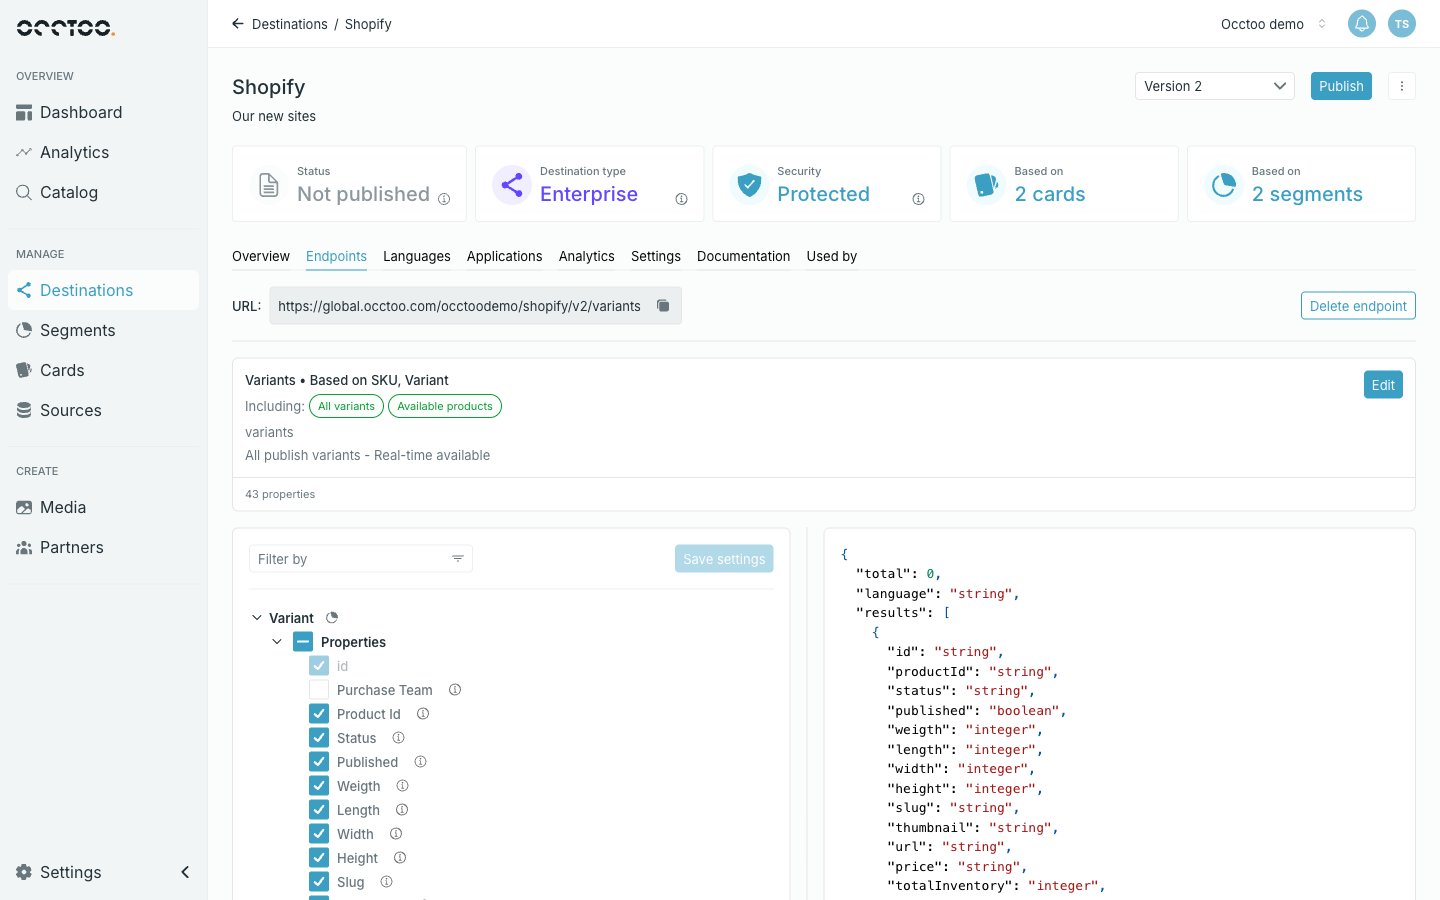
The tree
The root node is the card the endpoint is based on. Under it:- Properties — every property of that card, each with a checkbox.
- Relations — related cards you have added, each its own node with its own Properties and Relations. See Endpoint relations.
Select properties
Tick a property to include it in the response; untick it to leave it out. Some checkboxes are disabled, and the tooltip says why:
Click Save settings when you are done. The button stays disabled until something changes.
Narrow a long tree
Filter by limits the tree to properties matching one or more of:Rename a property for the API
The info icon on a property row opens Property details. The top of the dialog is a read-only summary — card definition id, name, identifier, current alias, data type, and the facet settings. Below it are the editable fields.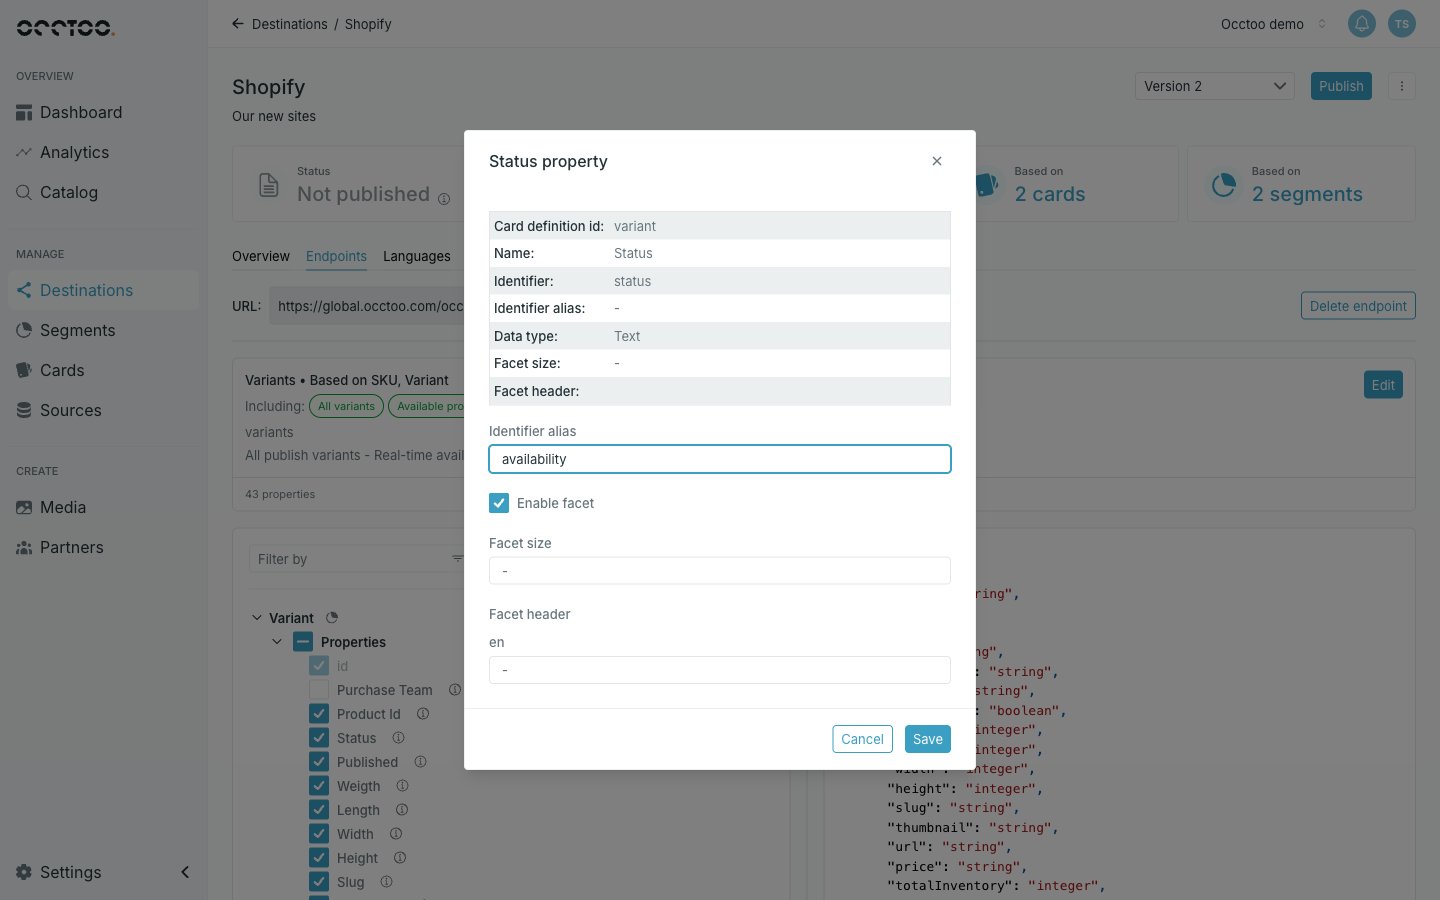
prodStatusCode can be served as status. Leave it empty to serve the identifier as-is.
An alias must start with a lowercase letter and contain only letters, digits and underscores, and must be unique among the aliases of its sibling properties.
Turn a property into a facet
Facets return counts per value alongside the results, so a caller can build filters — “37 items in blue, 12 in red” — without a second query. In Property details, tick Enable facet. Two fields become available:- Facet size — how many distinct values are returned for this facet, 1 to 999.
- Facet header — the label for the facet, one field per language on the destination. All of them are required once faceting is on.
Facets can be added to a published version without creating a new one — see Pending changes.