A relation embeds a related card inside the endpoint’s response — variants inside a product, media inside a variant — so a consumer gets both in a single request. Relations come from the card, not the destination: only relations already defined on the card can be added here. See Card relations.

Add a relation

1

Open the tree

Open the endpoint and expand the node you want to nest under. Available relations are listed as buttons under Relations.
2

Pick the relation

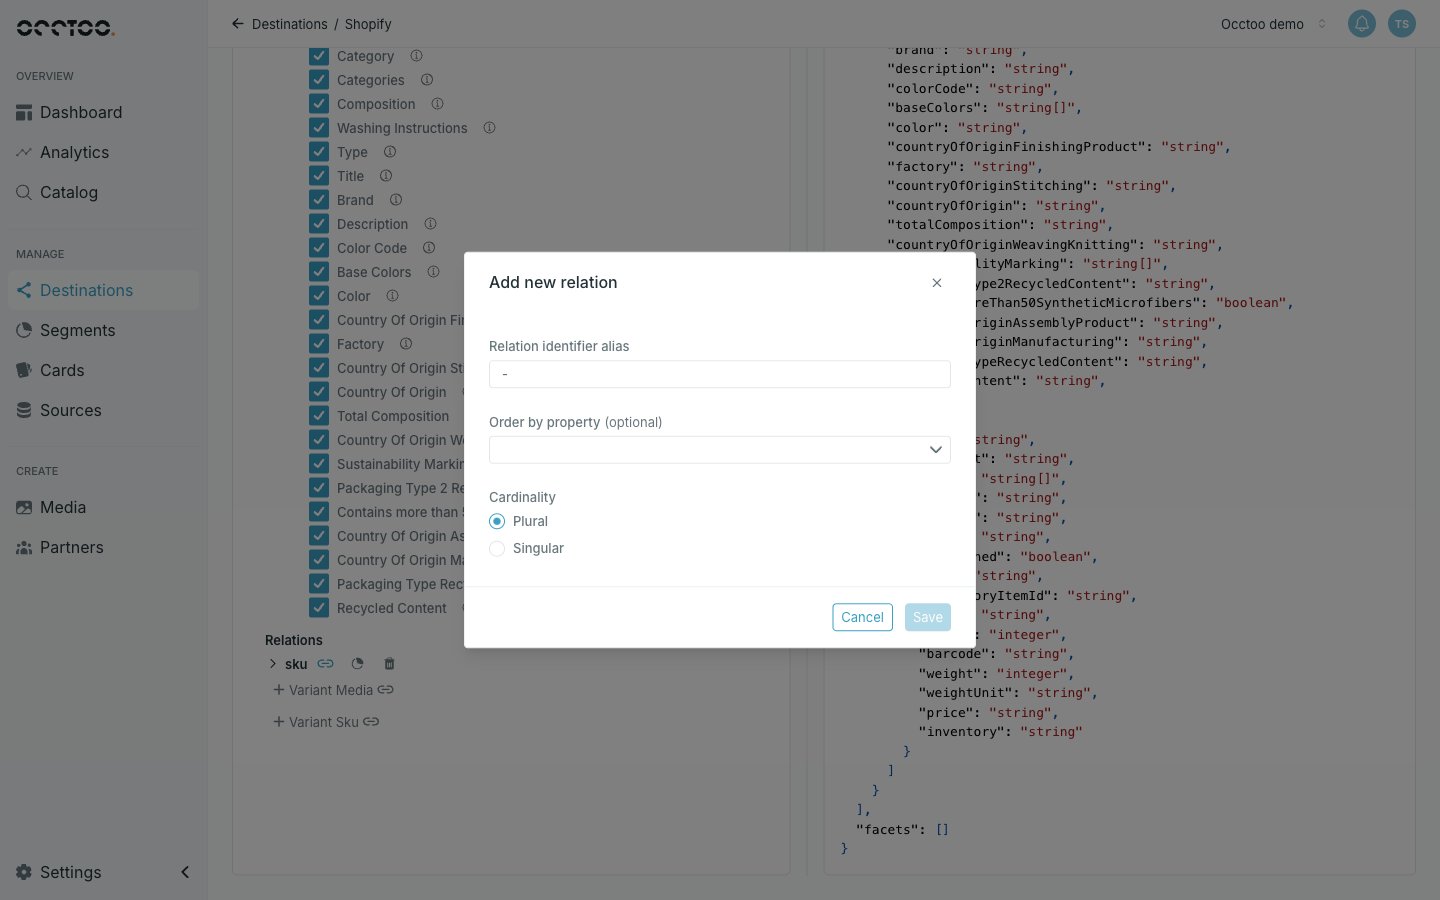
Click the relation’s button to open Add new relation.The Add new relation dialog
3

Configure it

  • Relation identifier alias — the field name the nested data appears under in the response.
  • Order by property — optional; which property of the related card decides the order, and whether it sorts ascending or descending.
  • CardinalityPlural returns an array, Singular returns a single object.
4

Save

Click Save, then Save settings on the tree.
The relation becomes a node in the tree with its own Properties and Relations, so you can select properties and nest further. The right-hand preview shows the nested shape immediately.
A relation node starts with its entry id selected. Unticking every property of a relation re-ticks id automatically — a nested object always carries at least its identifier.

Edit or remove a relation

The relation node carries controls to edit its settings and to delete it. Both are unavailable on a published version unless the relation is itself an unpublished addition.
Each level of nesting multiplies the work a request does. Deep chains of plural relations make responses large and slow — flatten what consumers do not need.