Add a property
1
Press Add property
In the Properties widget on the source page.
2
Fill in the basic fields
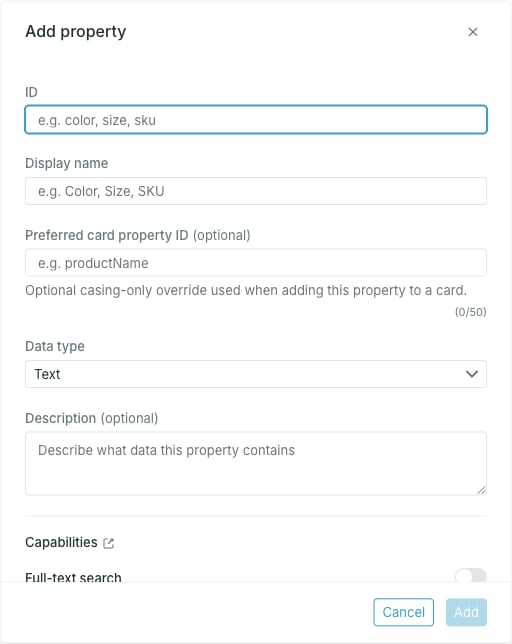
- ID — required. Letters, digits, hyphens and underscores, starting with a lowercase letter. It has to be unique in the source, and
idis reserved. - Display name — required. The name shown in Studio.
- Preferred card property ID — a casing-only override for the identifier suggested when this property is added to a card.
- Data type — required, defaults to Text.
- Delimiter — appears for List and Localized list, and is required there.
- Description — optional free text, shown under the ID in the property table.
Studio lowercases the ID it sends, so
colorCode is stored as colorcode. Use Display name for the casing you want to read in Studio.3
Set capabilities
Choose whether the property can be searched, filtered and converted. See Property capabilities.
4
Pick a display section
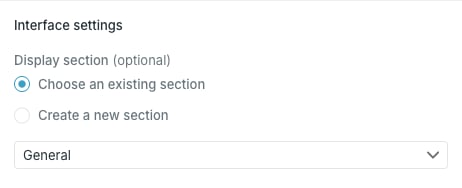
The form does not decide whether the property gets a column in the entries table. That table shows the first six properties by display order — to add one, move it into the first six with Edit order and sections. See Display sections and order.
5
Press Add
Add stays disabled until you change something.
Changing the display section is a second save behind the scenes, because sections live on the source rather than on the property. If the property saves but the section does not, the error refers to the section and the property change is already in place.
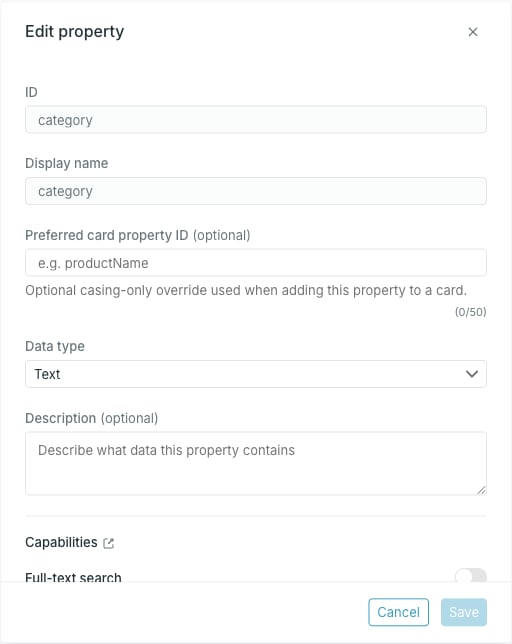
Edit a property